

We all want to become instafamous, right? Okay, maybe not all of us but it is a good feeling whenever you get a new follower. The truth is we live in a society where social media popularity matters to people. You put up a new picture on Instagram and watch your notifications like a hawk. You think you’ve just taken the best picture ever of your Sunday brunch or your soy latte and expect to become the next Kylie Jenner of Instagram. Well, reality is you have 10 likes on your photo and you are asking yourself if you should delete it to spare yourself the embarrassment. Maybe that’s just us but I’m sure you can relate. We decided to share two of our favorite apps to download so you can step up your selfie game and start to dominate the Instagram world. Or just take a better picture of your veggie burger.
AfterLight

AfterLight is certainly one of our favorite photo editing apps. Once the app is opened, you can either upload a photo or take one directly through the app.
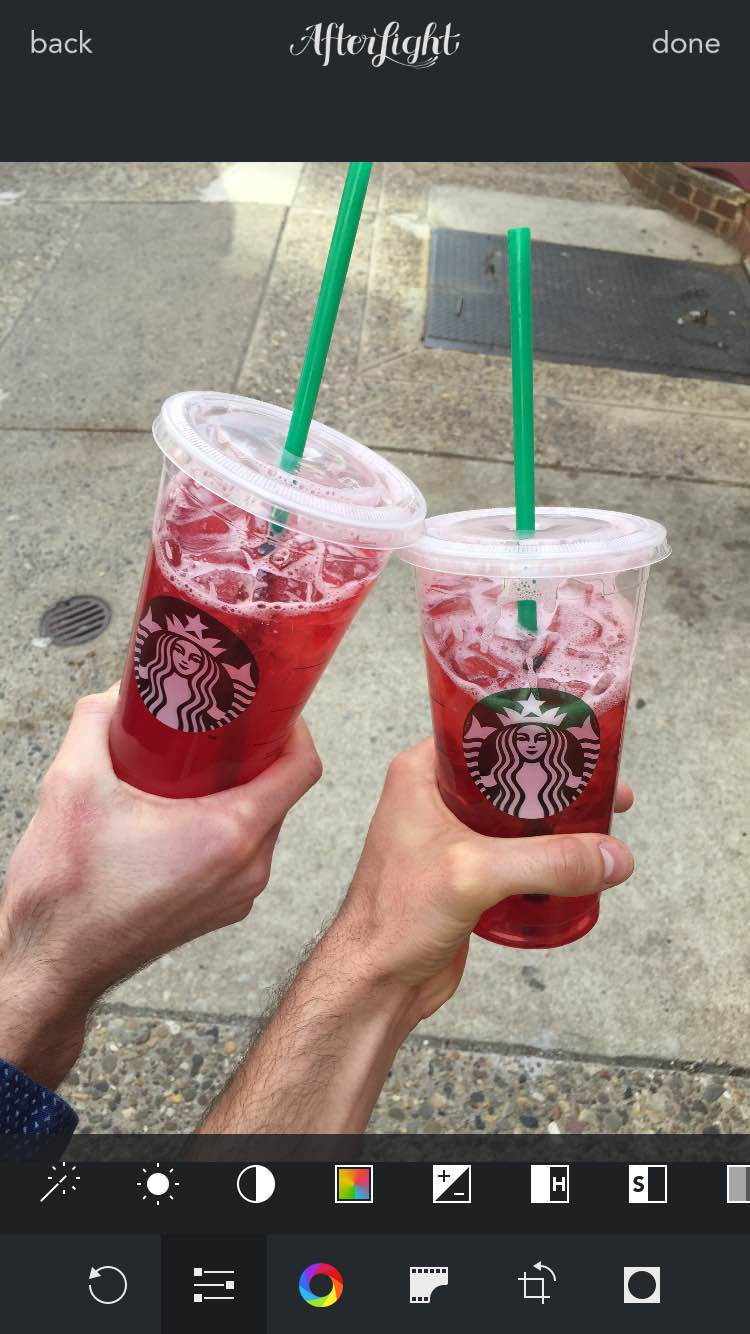
Once you have chosen a picture, the app gives you multiple editing options to choose from.
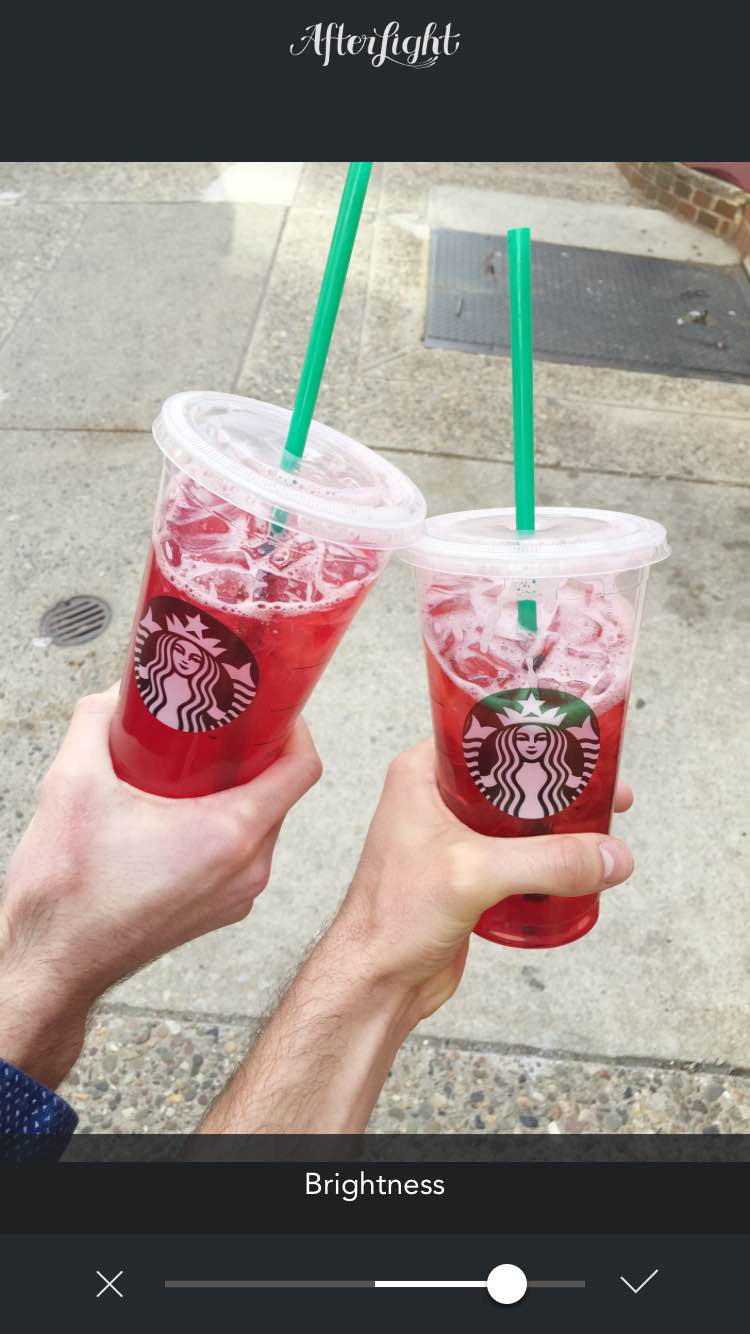
The first edit that we like to play around with is the brightness. Usually we increase our brightness to around 60-70%. Adjusting the brightness gives the photo a more crisp and naturally lit look.
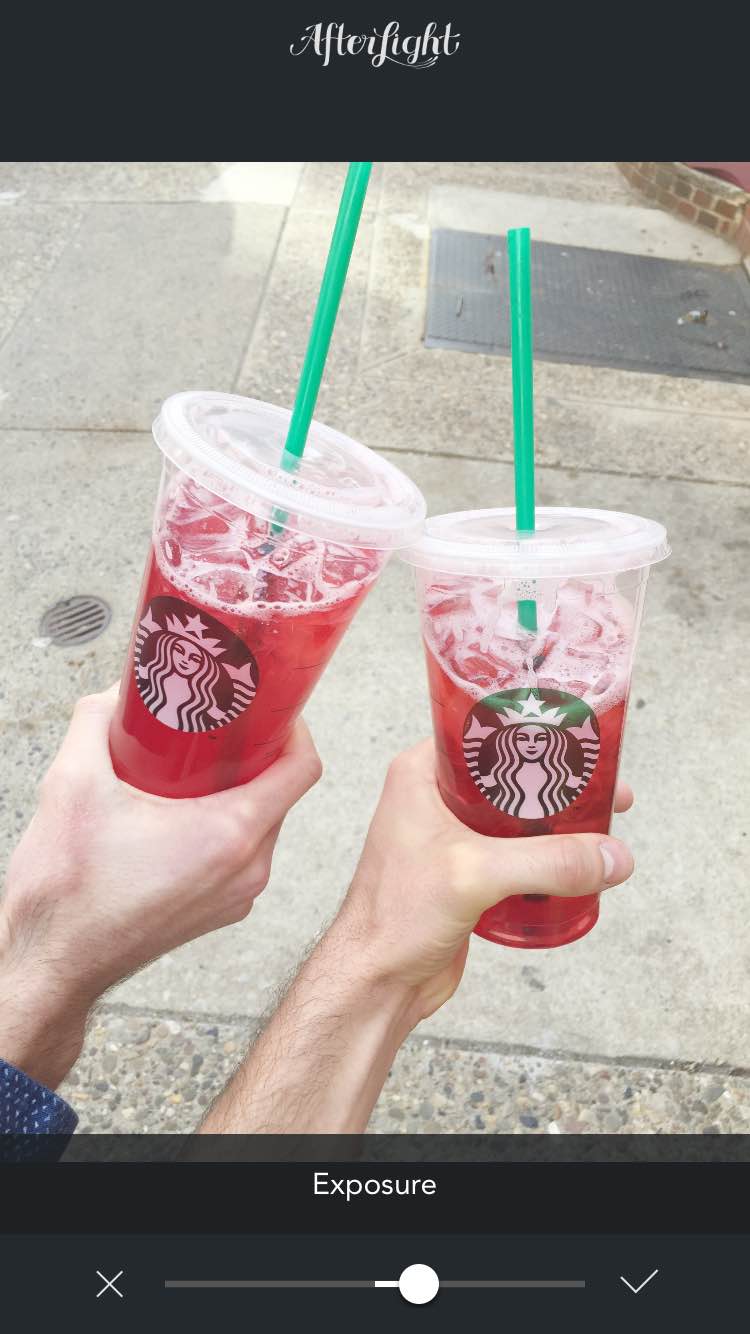
The next edit we like to adjust is the exposure. The exposure just refers to the lightness and darkness of the photo. Typically, we go for a photo that has a bit of light to it. Keep in mind that the more exposure you add to the photo, the more white the photo will become.

The last edit we utilize is the saturation. The saturation is going to accentuate any of the colorful focal points in the photograph. Usually we only slightly adjust the saturation so the photo still looks a bit natural.
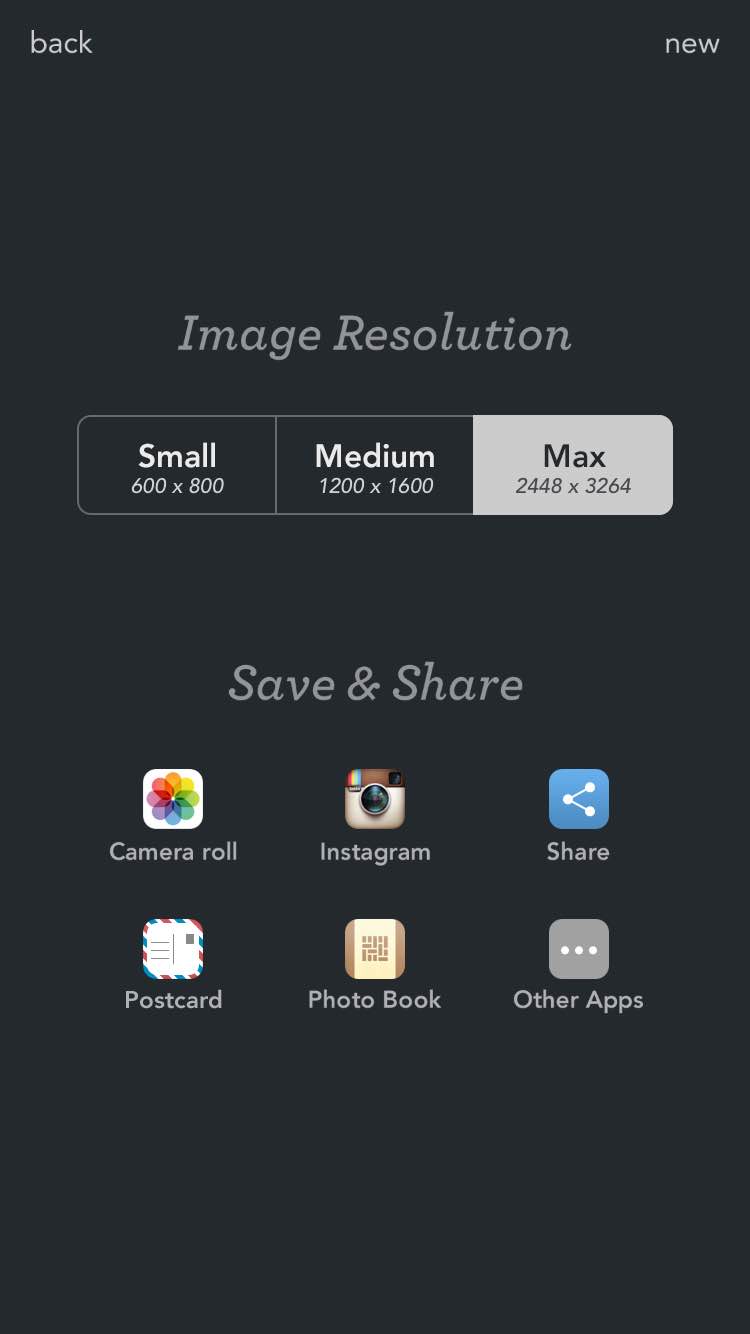
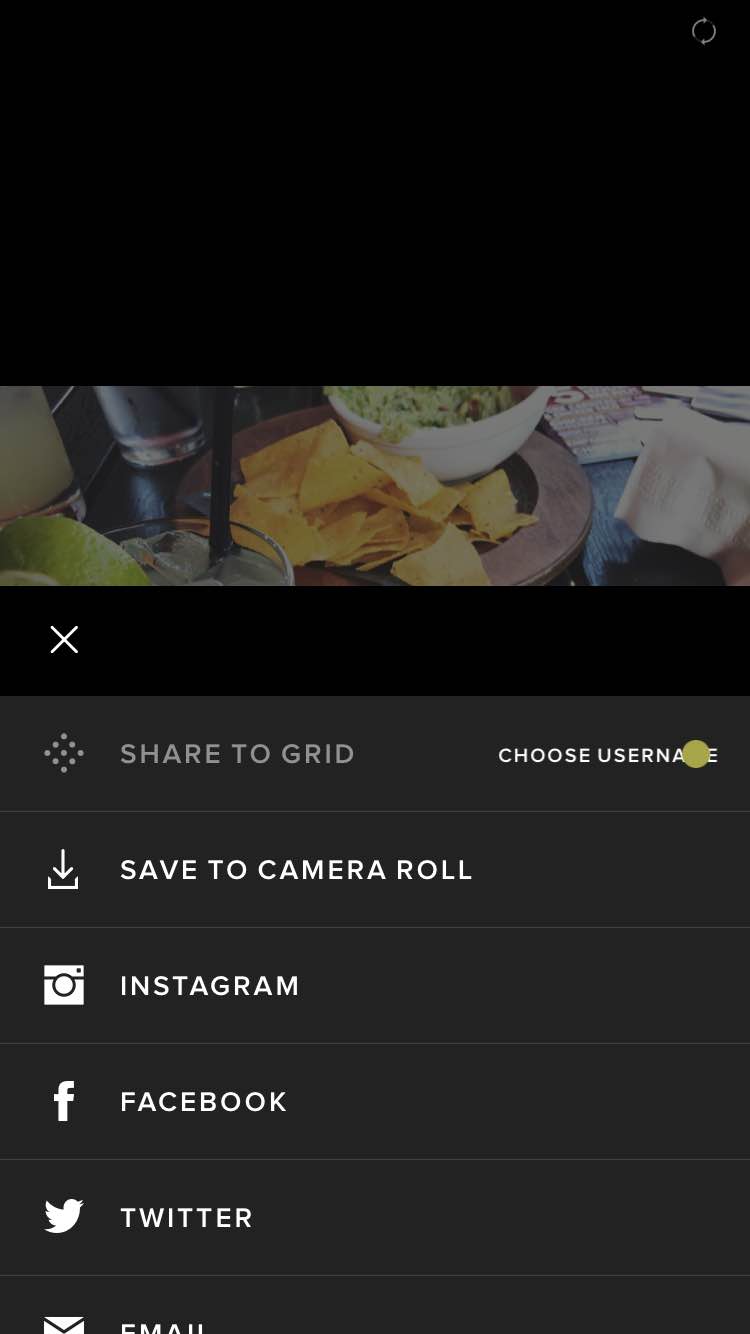
Once you have completed your edits you will be able to save your image to your phone or upload directly to Instagram. Typically, when we are done editing our photo, we save it to our phone and use the No Crop app to allow for white borders around the picture. No Crop also allows for the full image to be uploaded to Instagram.
VSCO Cam

VSCO Cam is one of the first editing apps we used. It most certainly allows for editing perfection.

Once you choose the picture you would like to edit, you will choose the “tools” button at the bottom left of the screen. You will be given a variety of filters to choose from as you can see above.

There are only a few filters we like to choose from. The first filter is “F2” which adds a mellow fade to the photo.

The second filter, which is probably our FAVORITE, is “T1”. In our opinion, this filter gives a vintage look to the picture.

Once you have chosen a filter that you absolutely love, double click the filter and you will be able to adjust the intensity of your choice.
Once we’re done editing our photo, we save it to our camera roll. Remember, there are so many more editing options you can choose from on both of these apps. We wanted to share our personal favorites to help get you started on your editing adventure. Good luck!


