
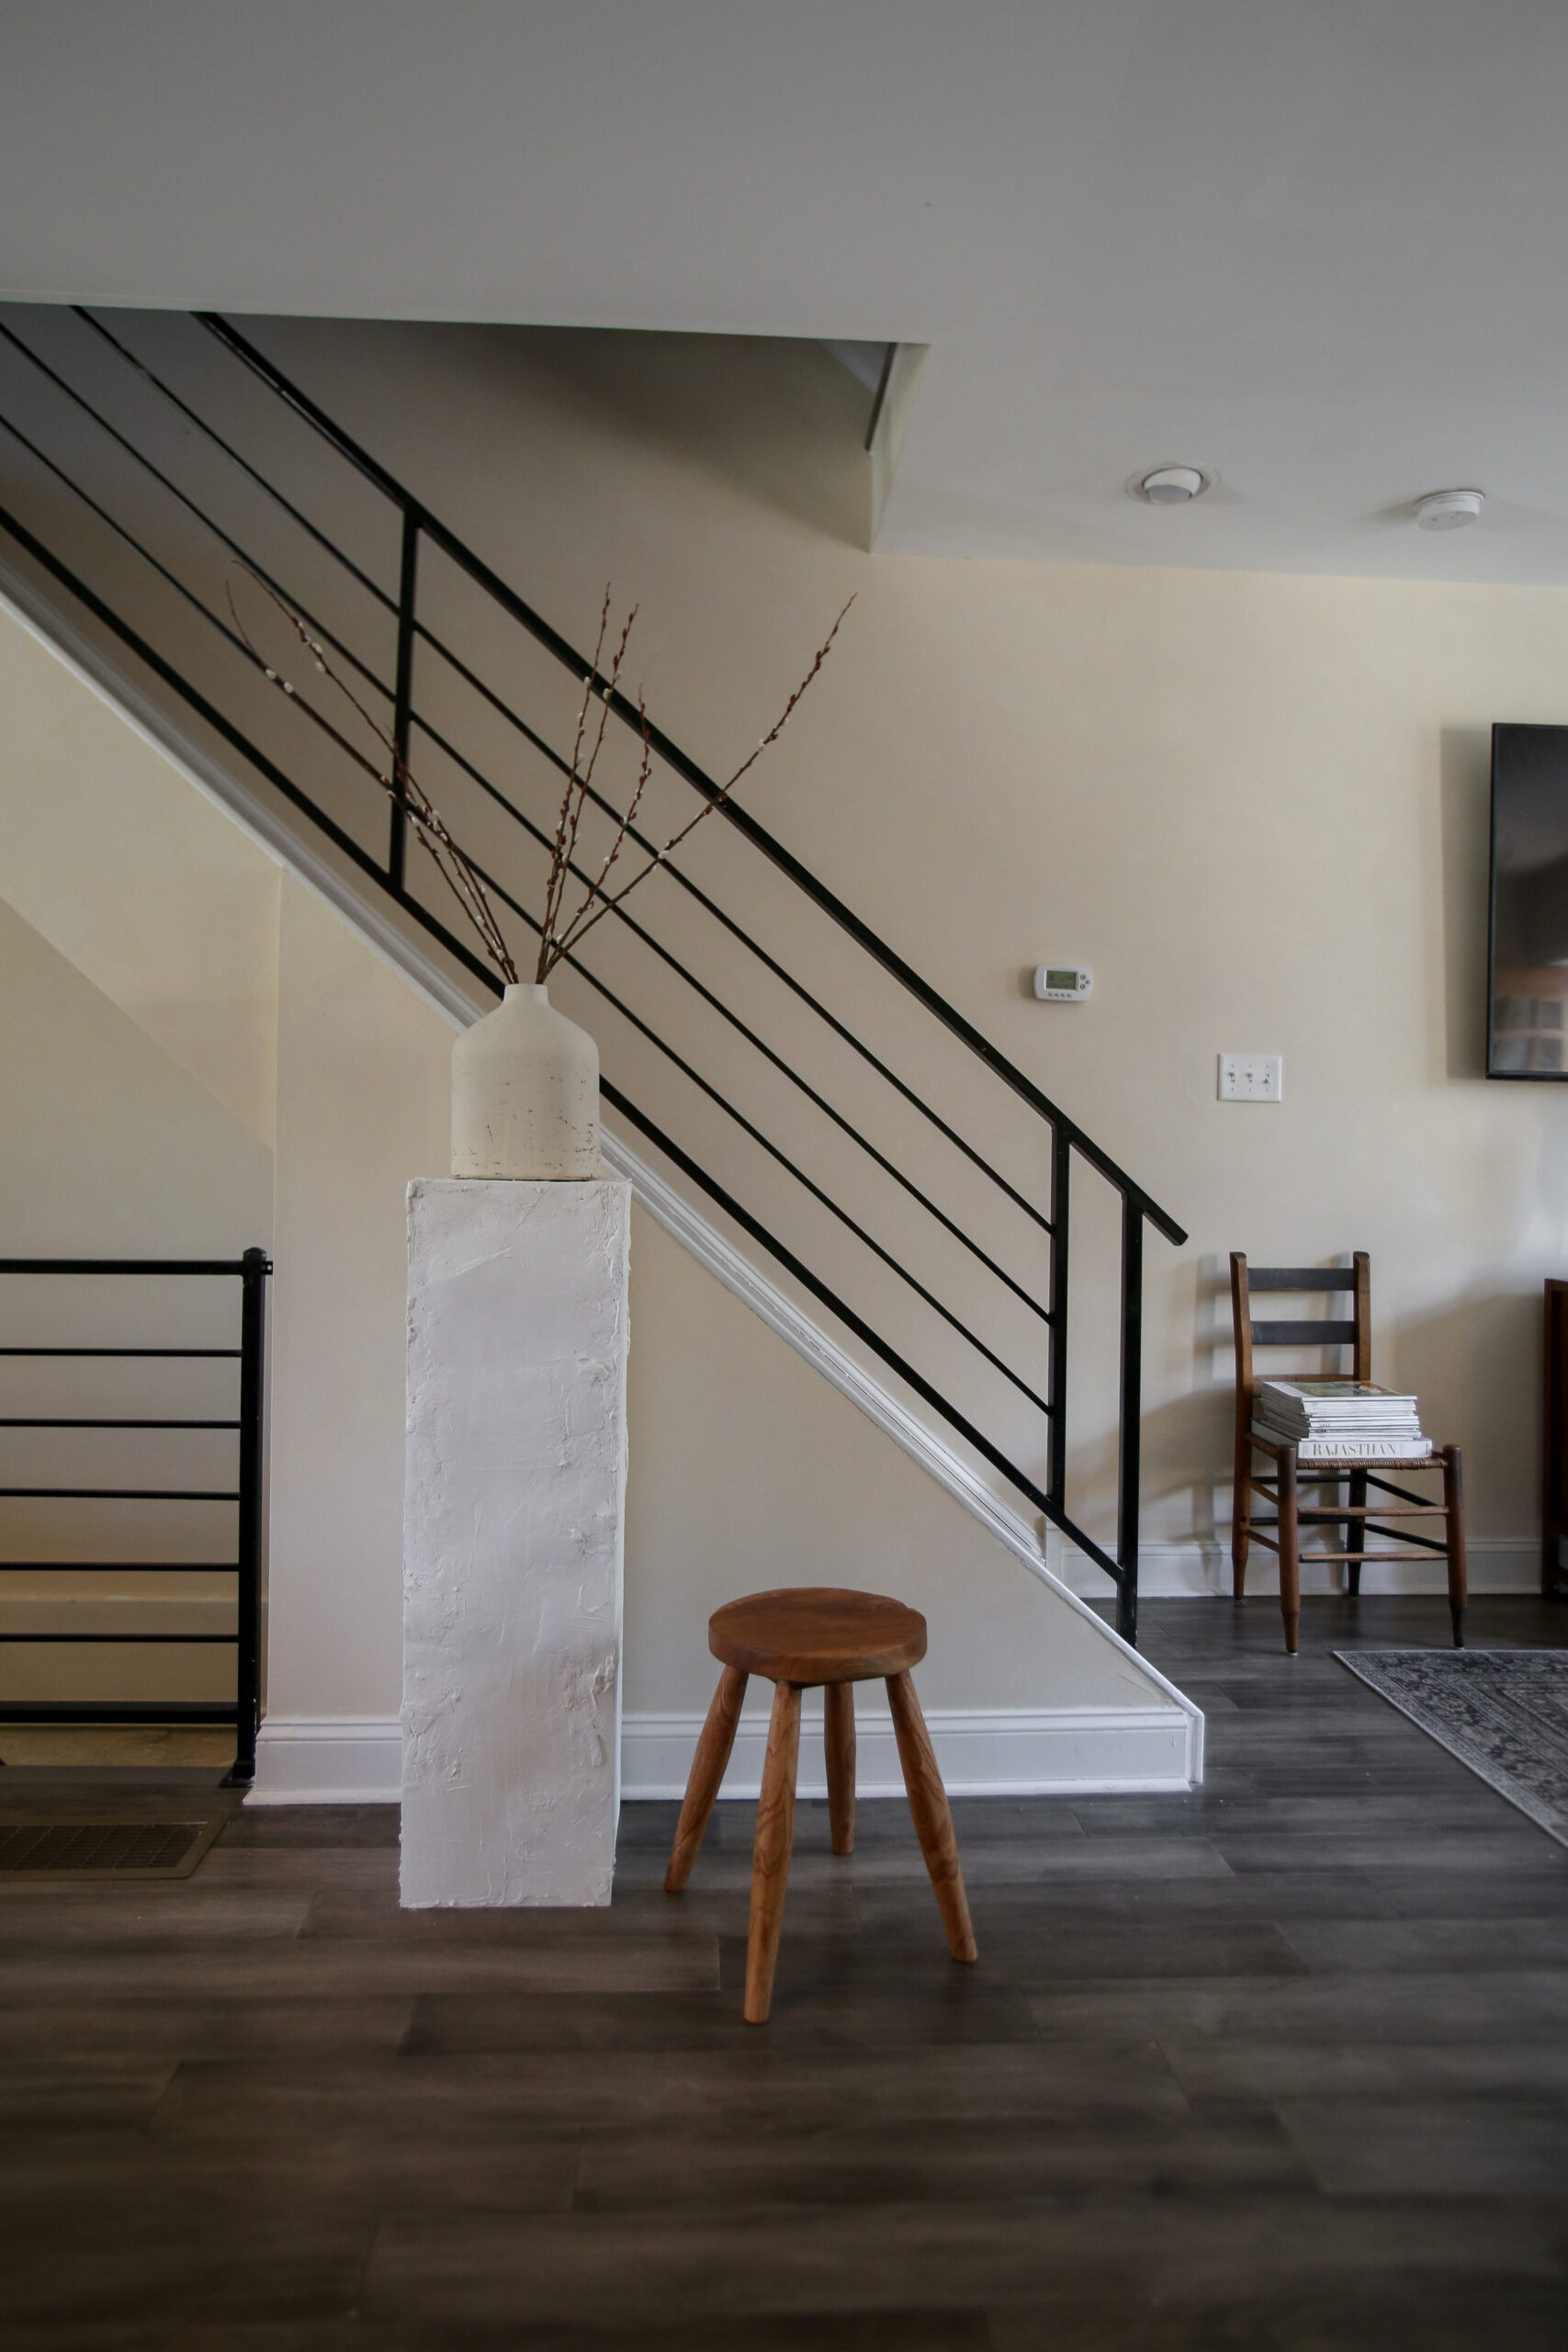
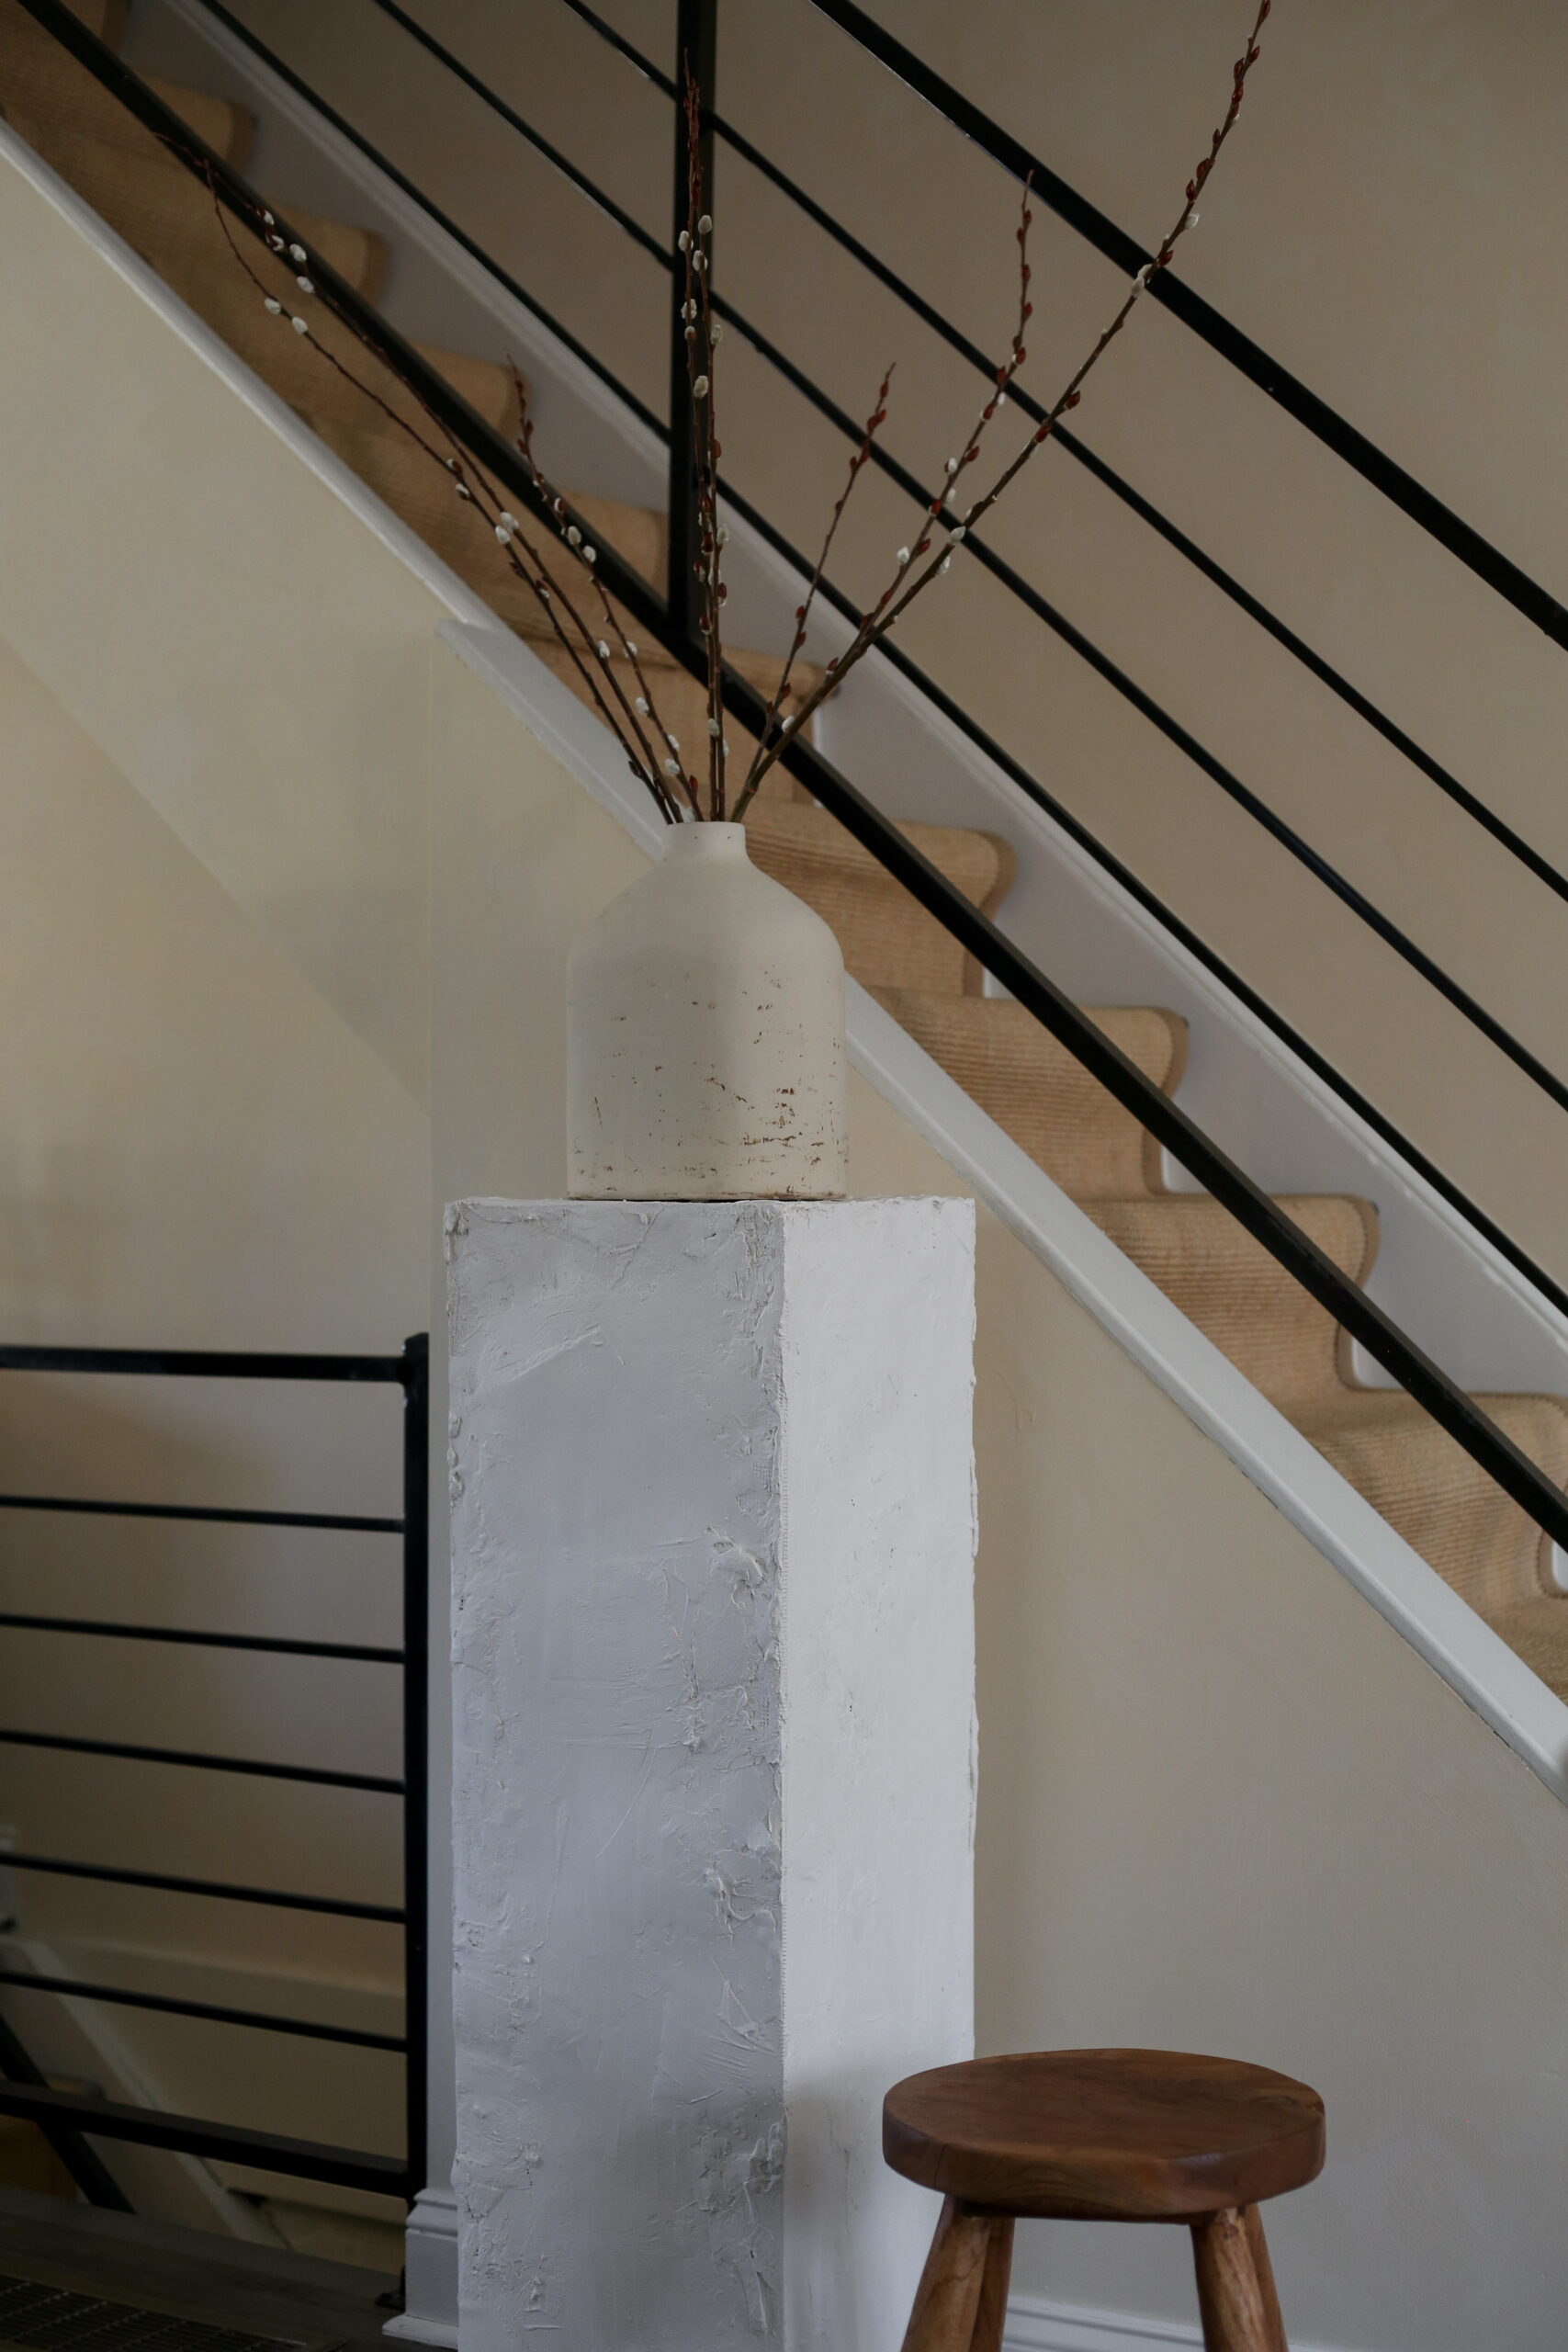
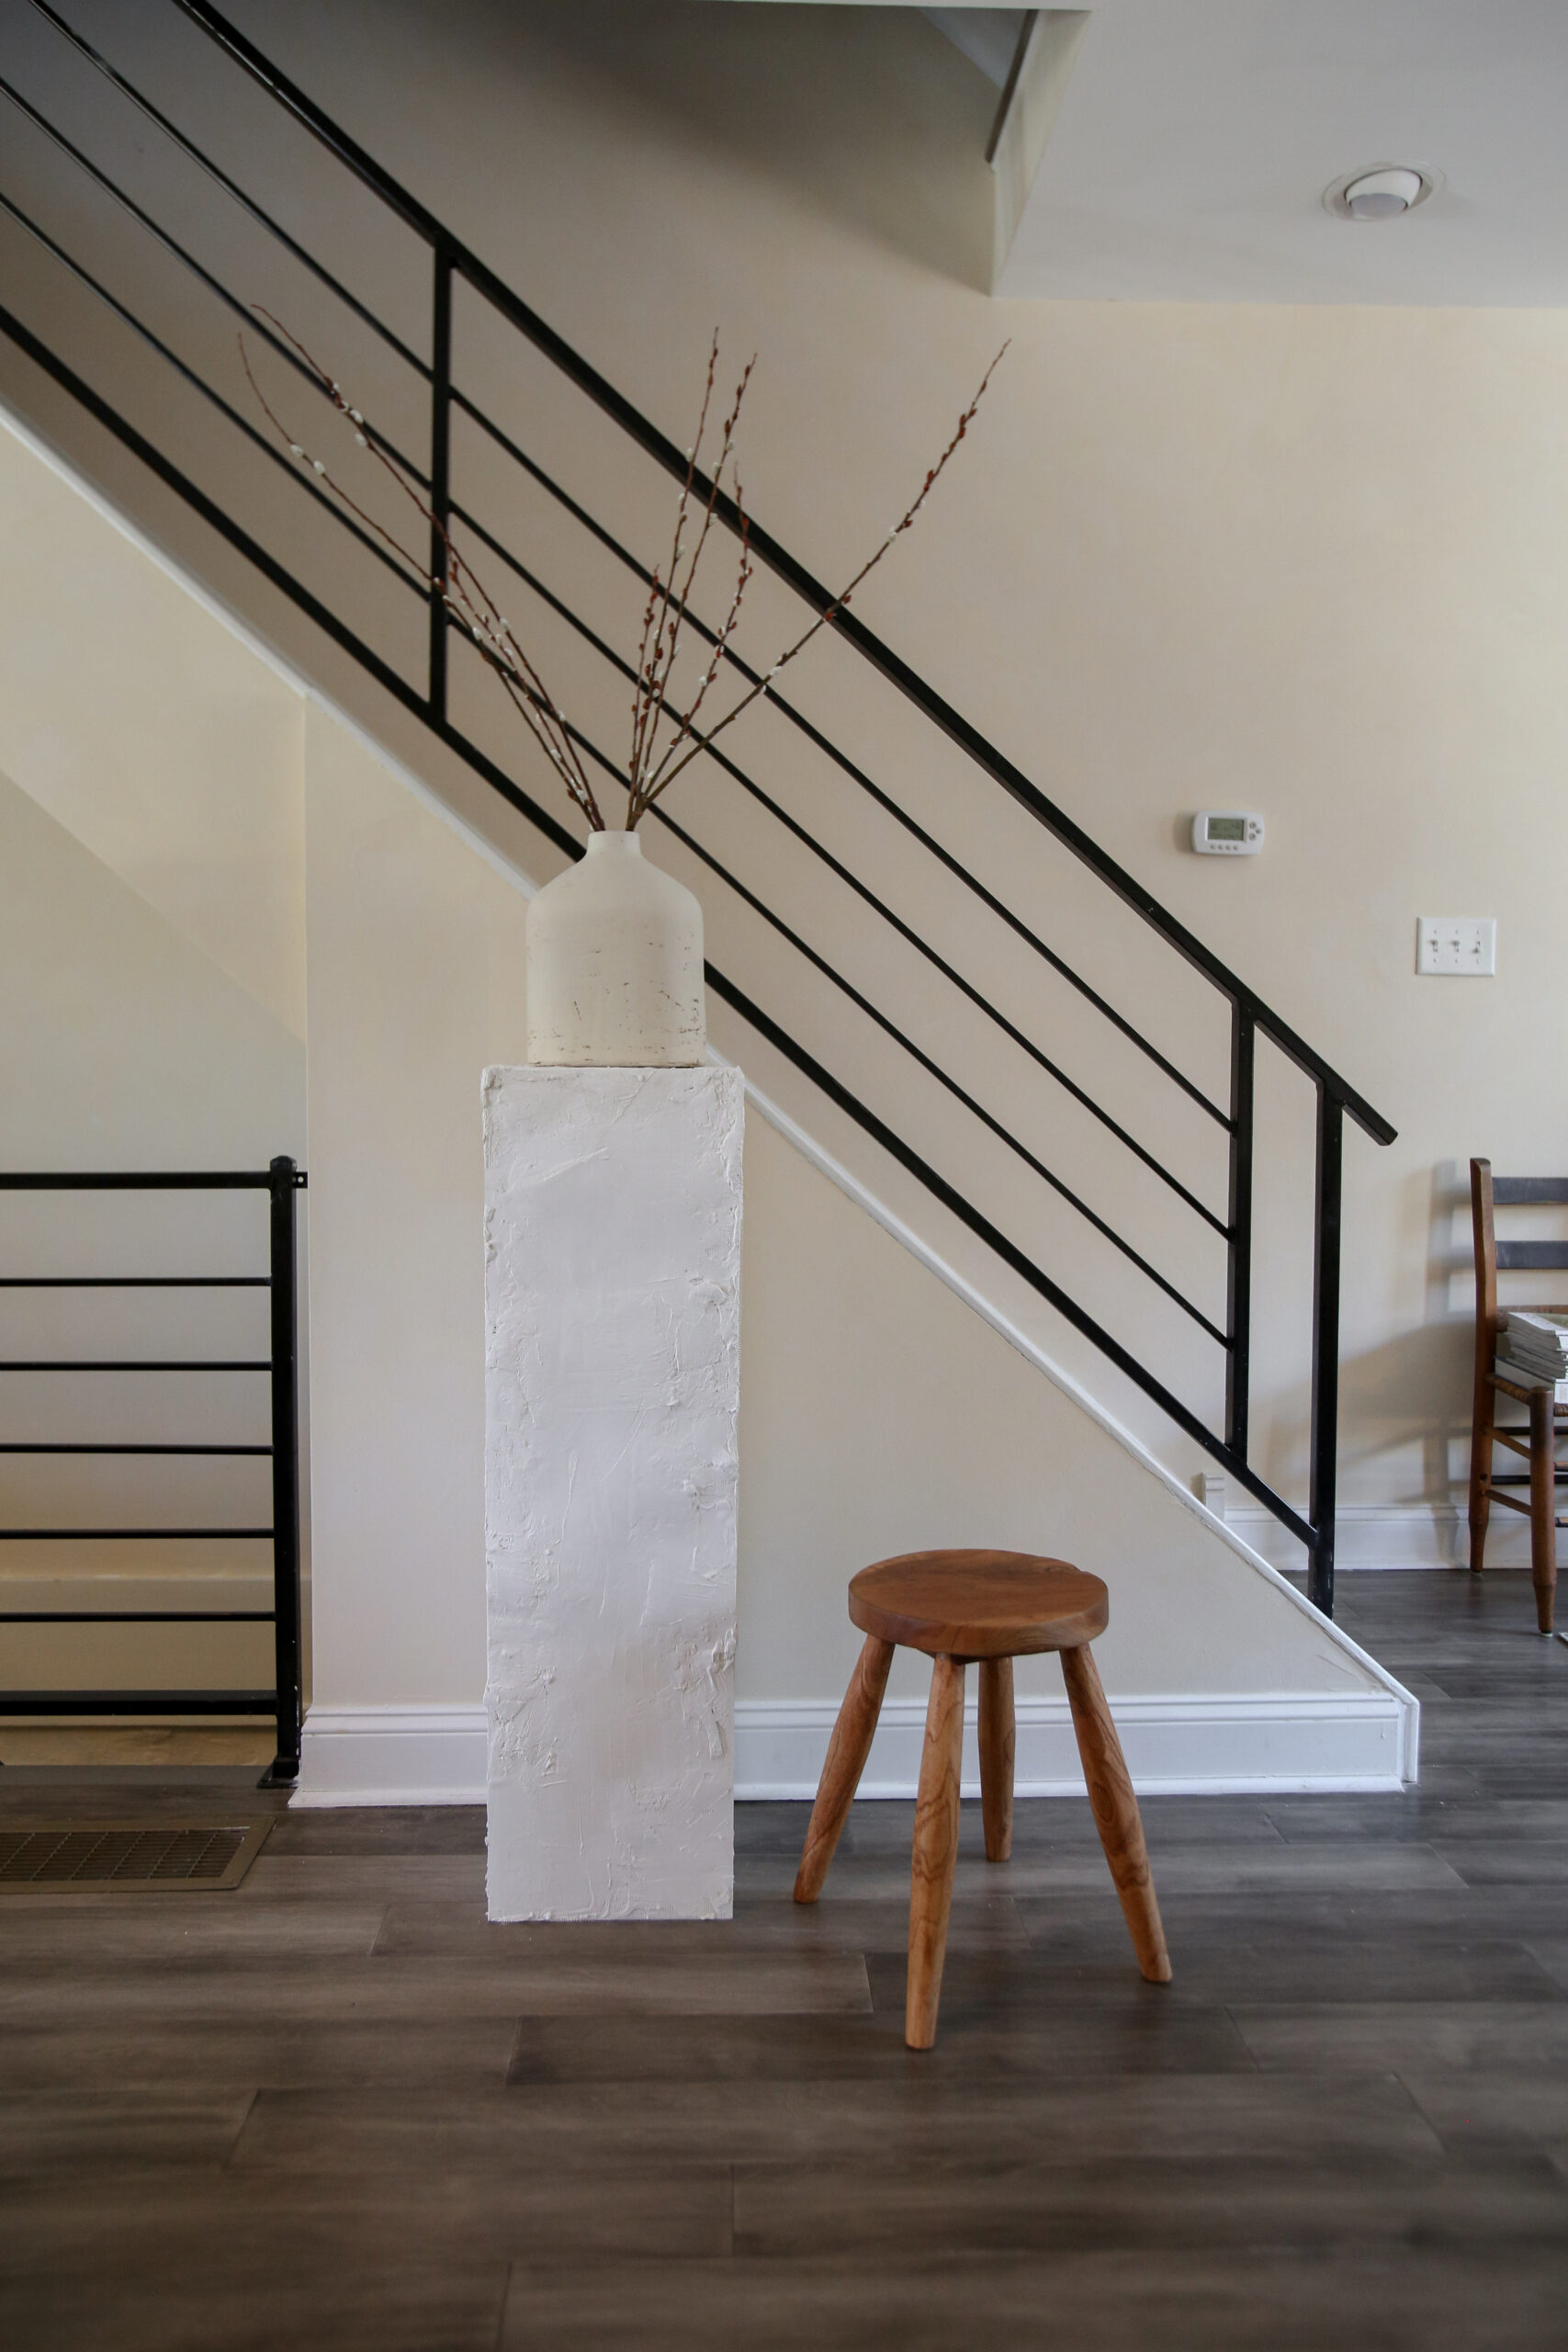
We can’t believe we forgot to share this DIY project on the site. We originally shared this as a reel over on Instagram but it deserves more than just that. We do suggest watching the reel here to help you visualize the entire process. This has probably been one of our favorite projects we’ve done over the past year. You know how much we love pedestals. They really do add height and dimension to a space. They can be great to house a beautiful floral arrangement, a sculptural vessel, or any decor piece of your liking. We had been eyeing a plaster pedestal online for a while but we couldn’t justify the price tag. We specifically wanted a plaster pedestal because of the texture it would add to our space. So we did some research online and decided to recreate it at home. It was truly such a fun project! So much easier than we initially expected.
Supplies
Pedestal – purchase here
2 Boxes of Plaster of Paris – purchase here
Bucket – purchase here
Drywall Tape – purchase here
Spatula – purchase here
Sponge – purchase here
Steps
- Cover entire pedestal with drywall tape. This will allow the plaster to adhere to the surface.
- Follow directions on back of plaster box. Mix in bucket and immediately start to apply to pedestal with spatula. The plaster does dry fast so you want to move quickly. There is no right way to apply — the less uniform the better and will allow for much more texture.
- Wet sponge and smooth out any bumps you aren’t happy with. Allow pedestal to dry overnight.


