


Lately, we’ve been receiving more and more questions on how we installed the runners in our home. We did originally post a tutorial on Instagram stories when we first installed the runners. But we decided it would be helpful to have a blog post you could reference. Though we do also suggest watching the story highlight for a video reference. We initially thought it was going to be out of our scope of skills but we were pleasantly surprised. Installing runners is actually much easier than we thought. With the right tools, you can have new runners installed in no time!
WHAT YOU’LL NEED
- Staple Gun
- 1/2 ” Staples
- Carpet Tucker
- Fabric Scissors
- Tape Measurer
- Pencil
We needed to use almost two full runners to cover each set of stairs. Here is the runner we chose. If you only need to use one runner, then you don’t need to worry about this next step. But if you are like us, you will need to join the two runners at some point. We suggest connecting the runners at the base of the stair riser. This way you won’t even notice the seam. The runner we chose had a border at the end that needed to be cut off to make the two runners look like one. We removed both end borders and any excess runner. We used a heavy-duty pair of scissors to cut along the seam to ensure it was straight.
When you are ready to start stapling, start at the top of the stairs. First, determine the center of the stair. You can mark the center with a pencil or tape. This is really important to ensure your runner looks even. As you work your way down, you can start to go off track and end up with a crooked runner. We chose to not add carpet padding but you can definitely do that if you prefer some extra cushion. We just didn’t feel like it was necessary for the runner we chose.


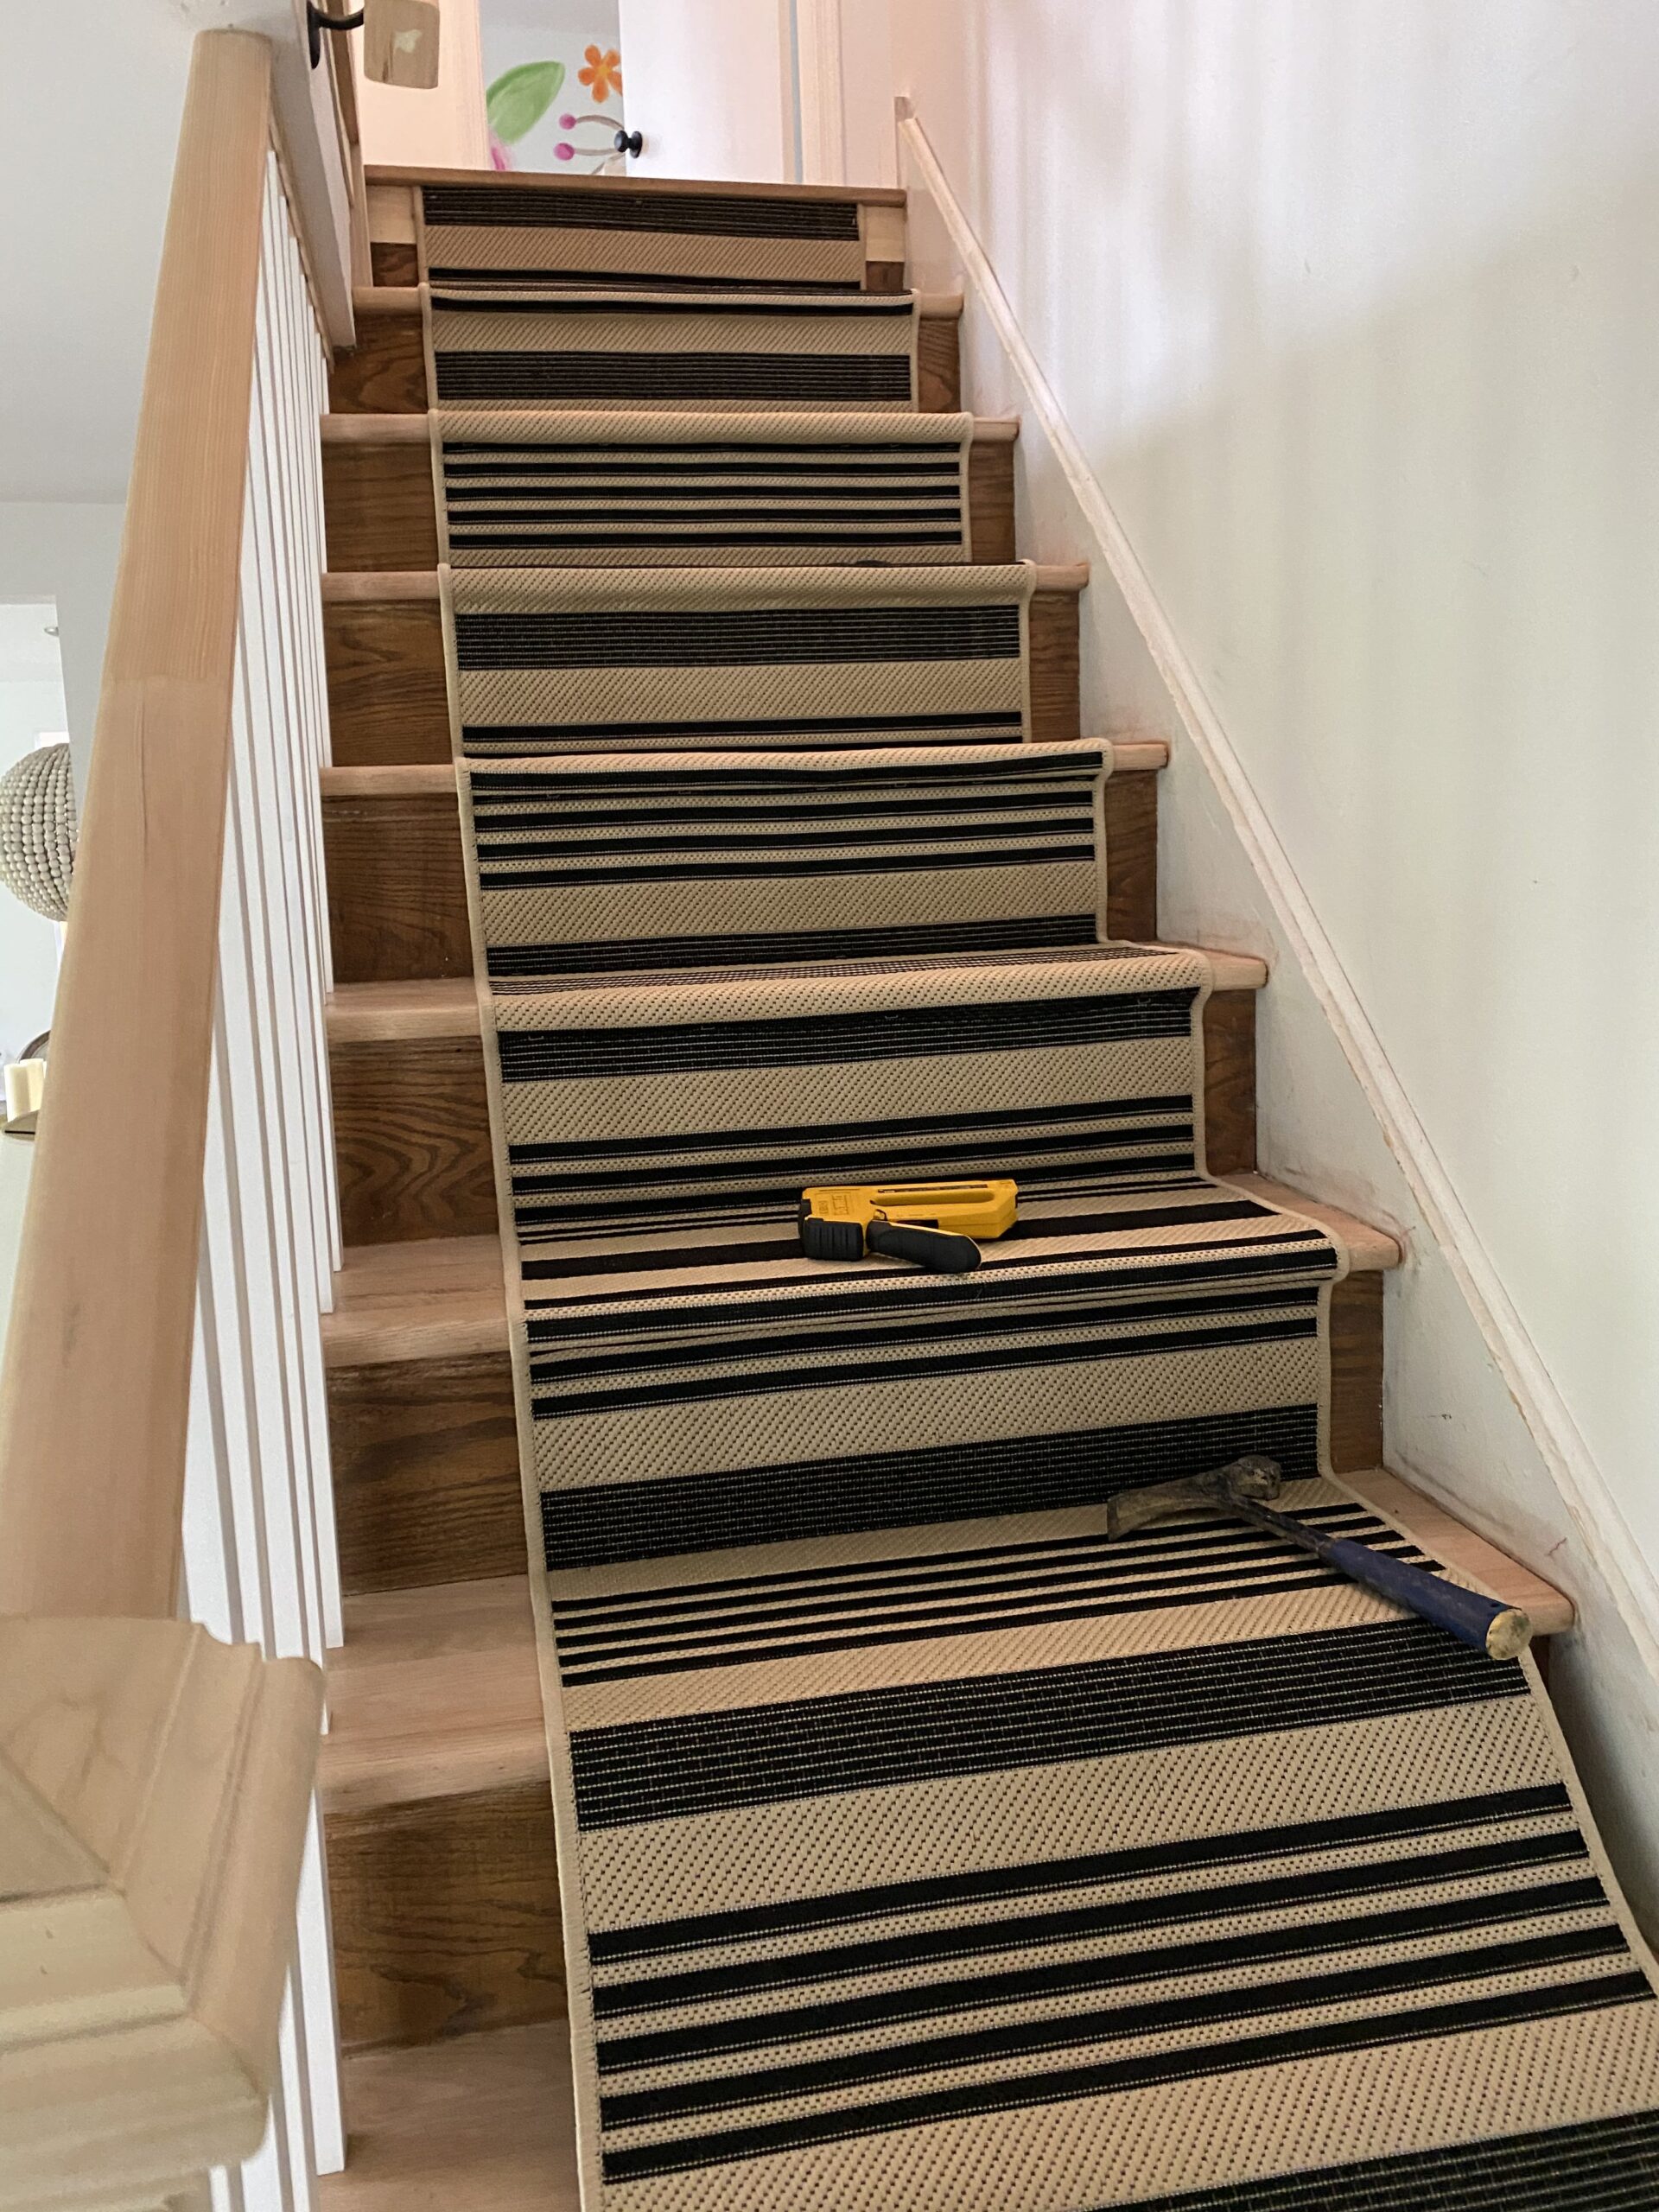
We like to do three staples across the back and three down each side. We kept the staples as close to the seam as possible so they would blend in. Pro tip: if you have a dark runner, you can take a sharpie and color over the staple. Super easy! As you work your way down, you want to really make sure you tuck in the runner to make sure it is flush with the stairs. You will want to use a carpet tucker for this part. We also chose to do a waterfall look for the runner — meaning we didn’t tuck the rug under the lip of the step. Rather we let it flow straight down. We prefer this style of runner because it adds movement to the stairs — as if it is just flowing down. If you would rather your runner be more flush with the stairs, use the carpet tucker to pull the runner tight under the stair lip and staple along the bottom side. When it comes to the end, simply staple the runner at the base.
That’s it! It was honestly a lot easier than we thought it would be. It was so easy that we recently helped out a friend by installing her runner while visiting one day. Let us know if you decide to tackle this DIY project! Until next time…


Hi guys. I’m new to your site and I love your style. I’m always jealous of people who have great vision but even more so that you can tackle these jobs yourselves. Your runner is beautiful. Looking forward to all of your posts.
Mimi H.
Hi Mimi! So happy to have you here. We’ve been really trying to tackle these home projects ourselves. It’s all a learning process!