
As promised, we are breaking down the steps of the lime wash application. The full guest bathroom reveal is coming soon we promise. Unfortunately, we still haven’t found the perfect mirror so we’re holding out on shooting the space. Fingers crossed we find one this week! Until then, we want to share the process of applying the lime wash. We did a lot of research & watched a ton of videos before we felt comfortable tackling this project. After finishing the room, we realized it wasn’t as hard as we thought it would be. Although, applying this type of paint is kind of like an art project. With the right products and brush, you can easily take on this project. Plus, the end result is incredible! The walls really do look like they’re part of a historic restoration.
WHAT WE USED
- Portola Lime Wash – Half Life Color
- Limeproof Undercoat (Primer)
- Matte Wall Sealer
- 5 inch box brush (from your local hardware store)
We decided to go with Portola Paints. So many people recommended this brand to us and we couldn’t be more impressed. We ordered the paint online since it comes from LA. It is a bit more expensive than typical paint and does need to be shipped but it’s worth it.
WHAT IS LIME WASH?
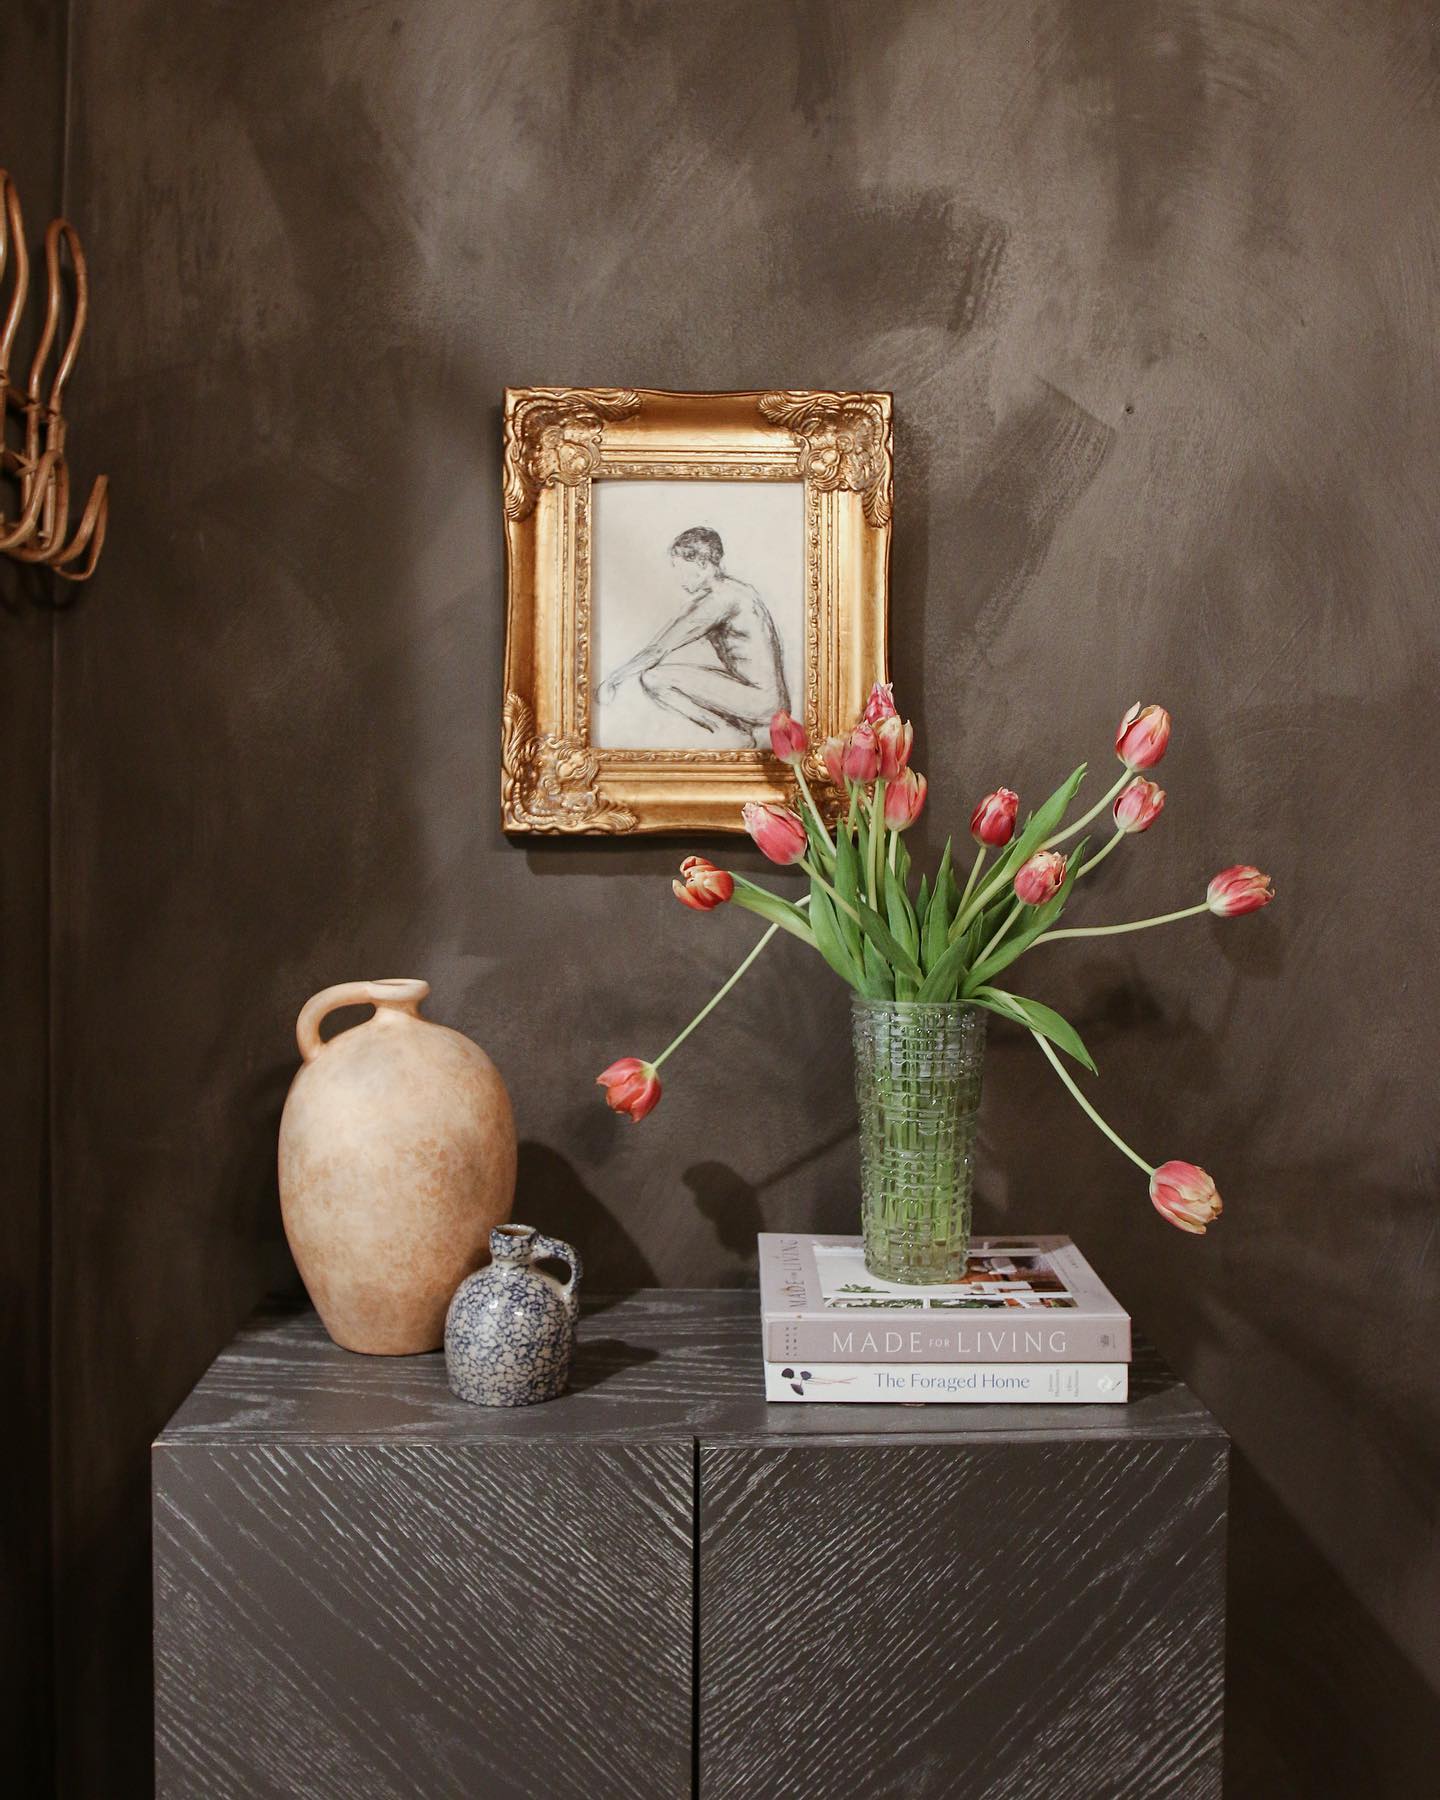
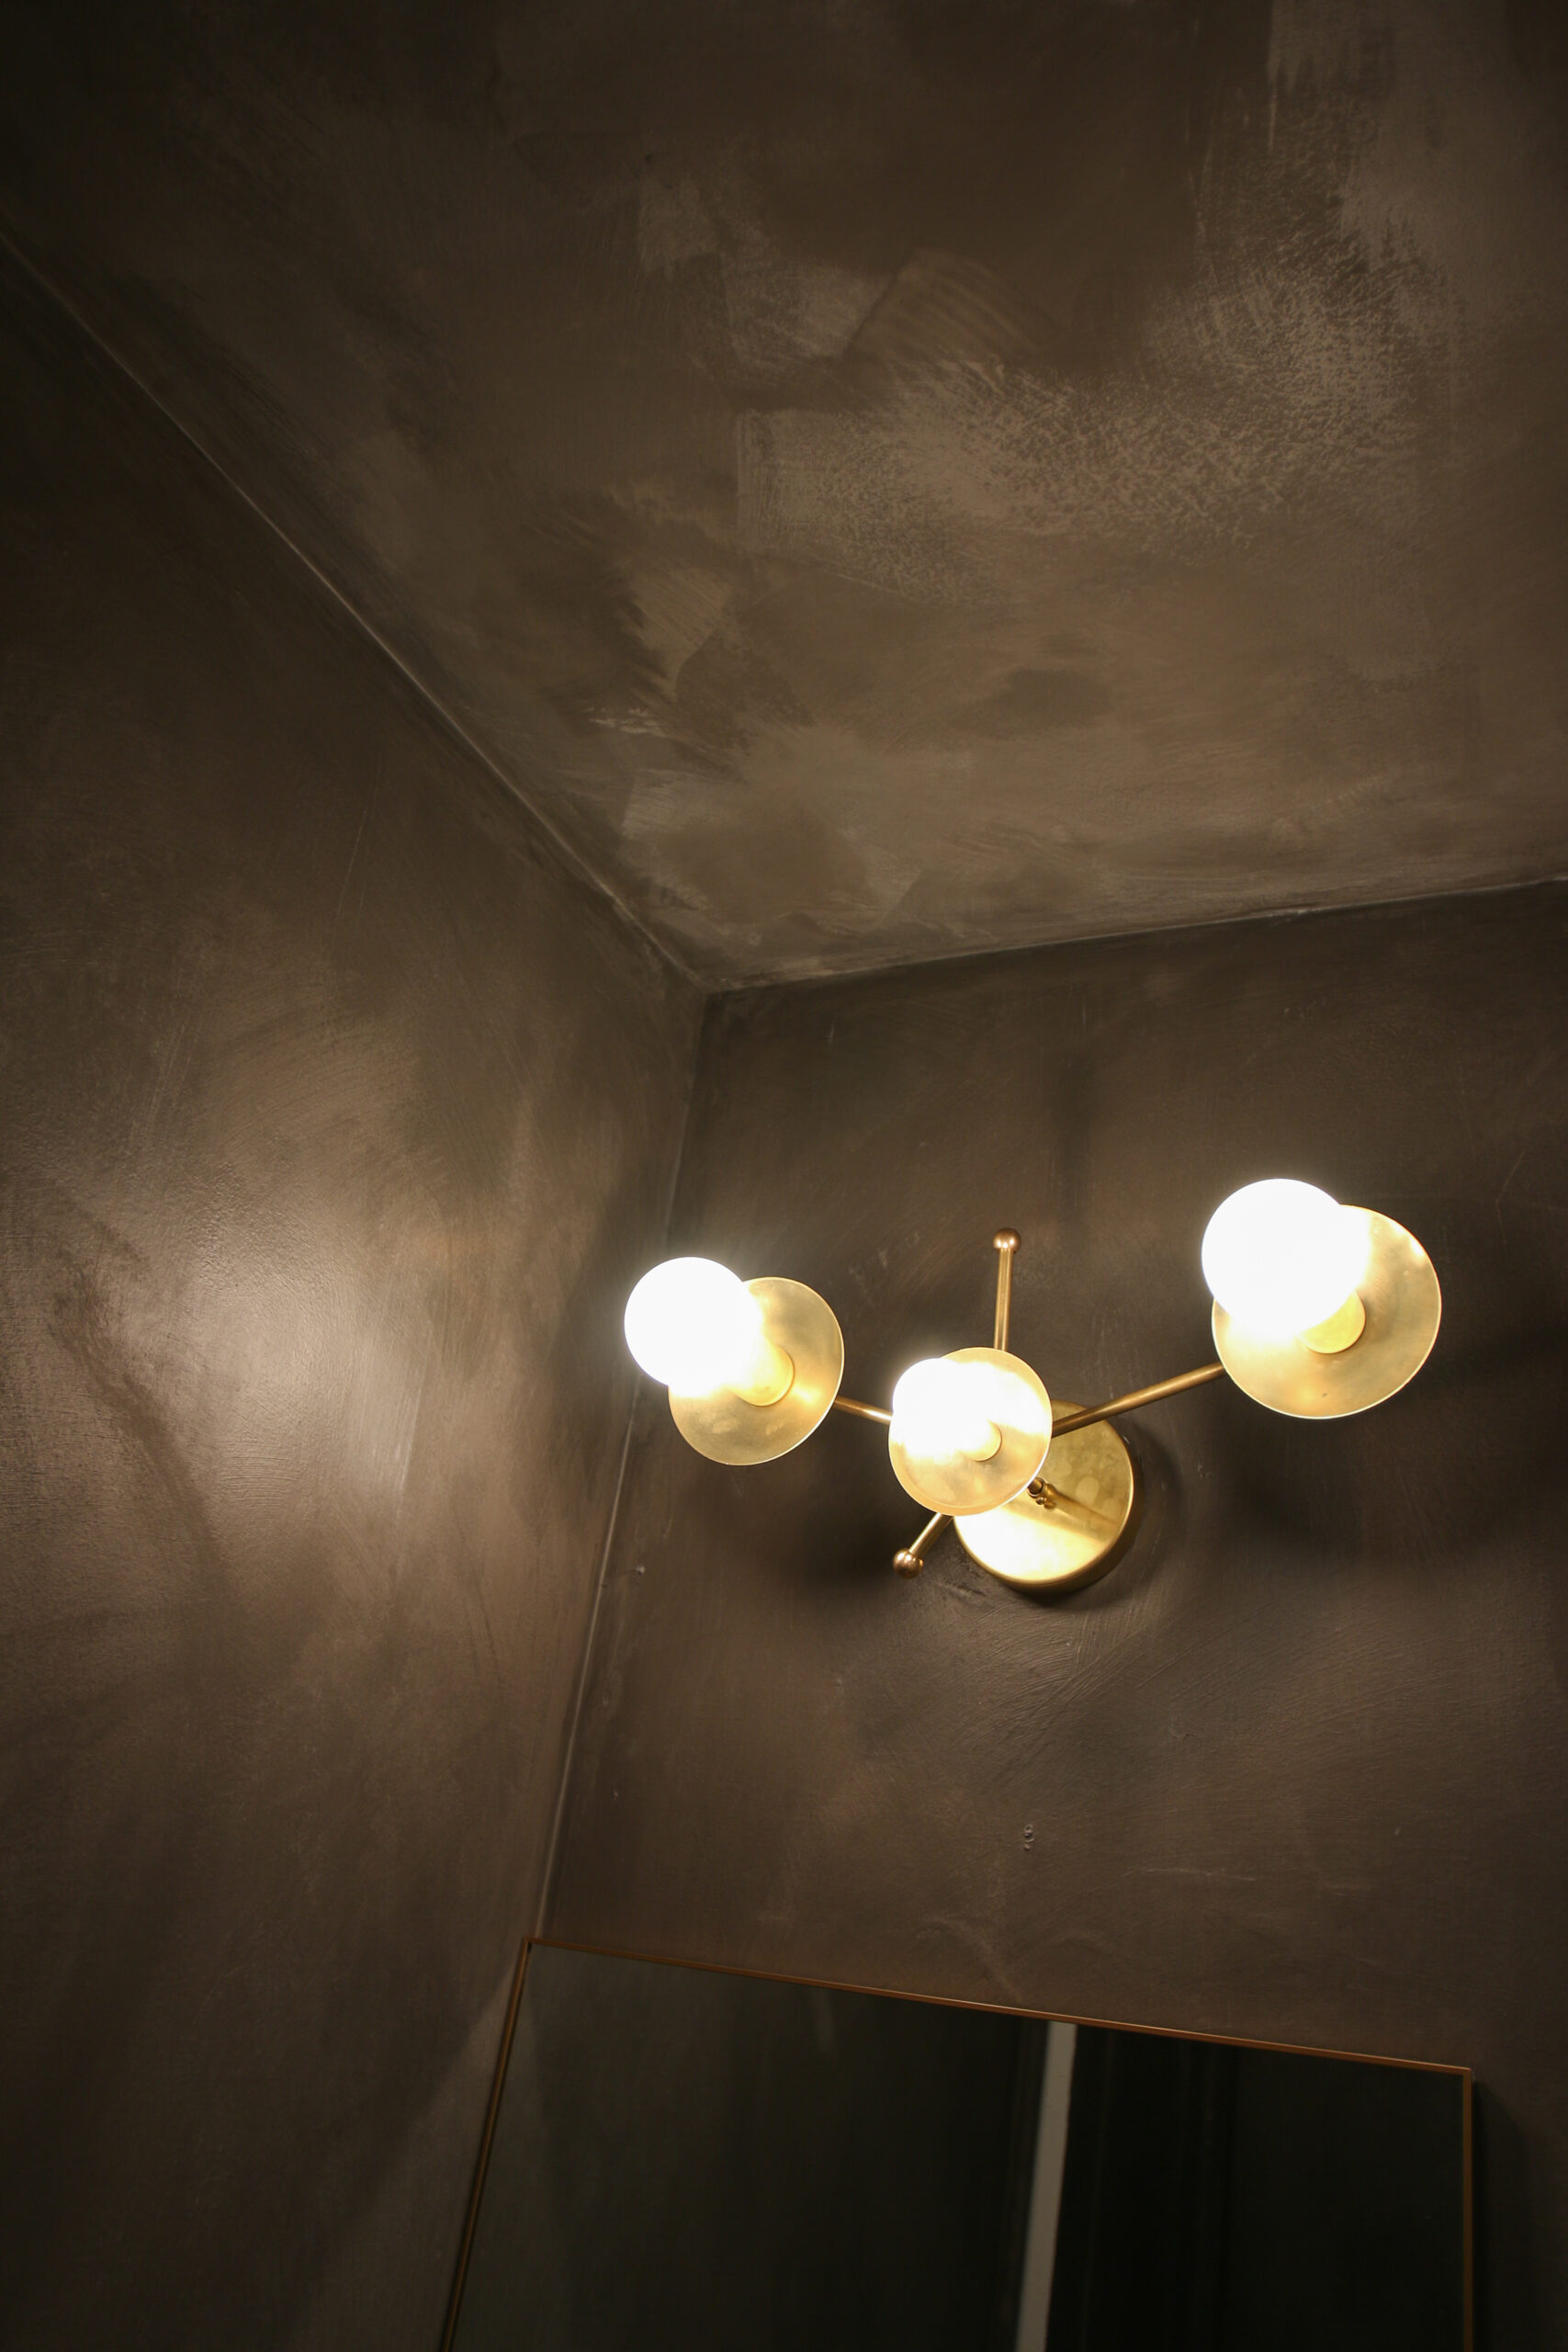
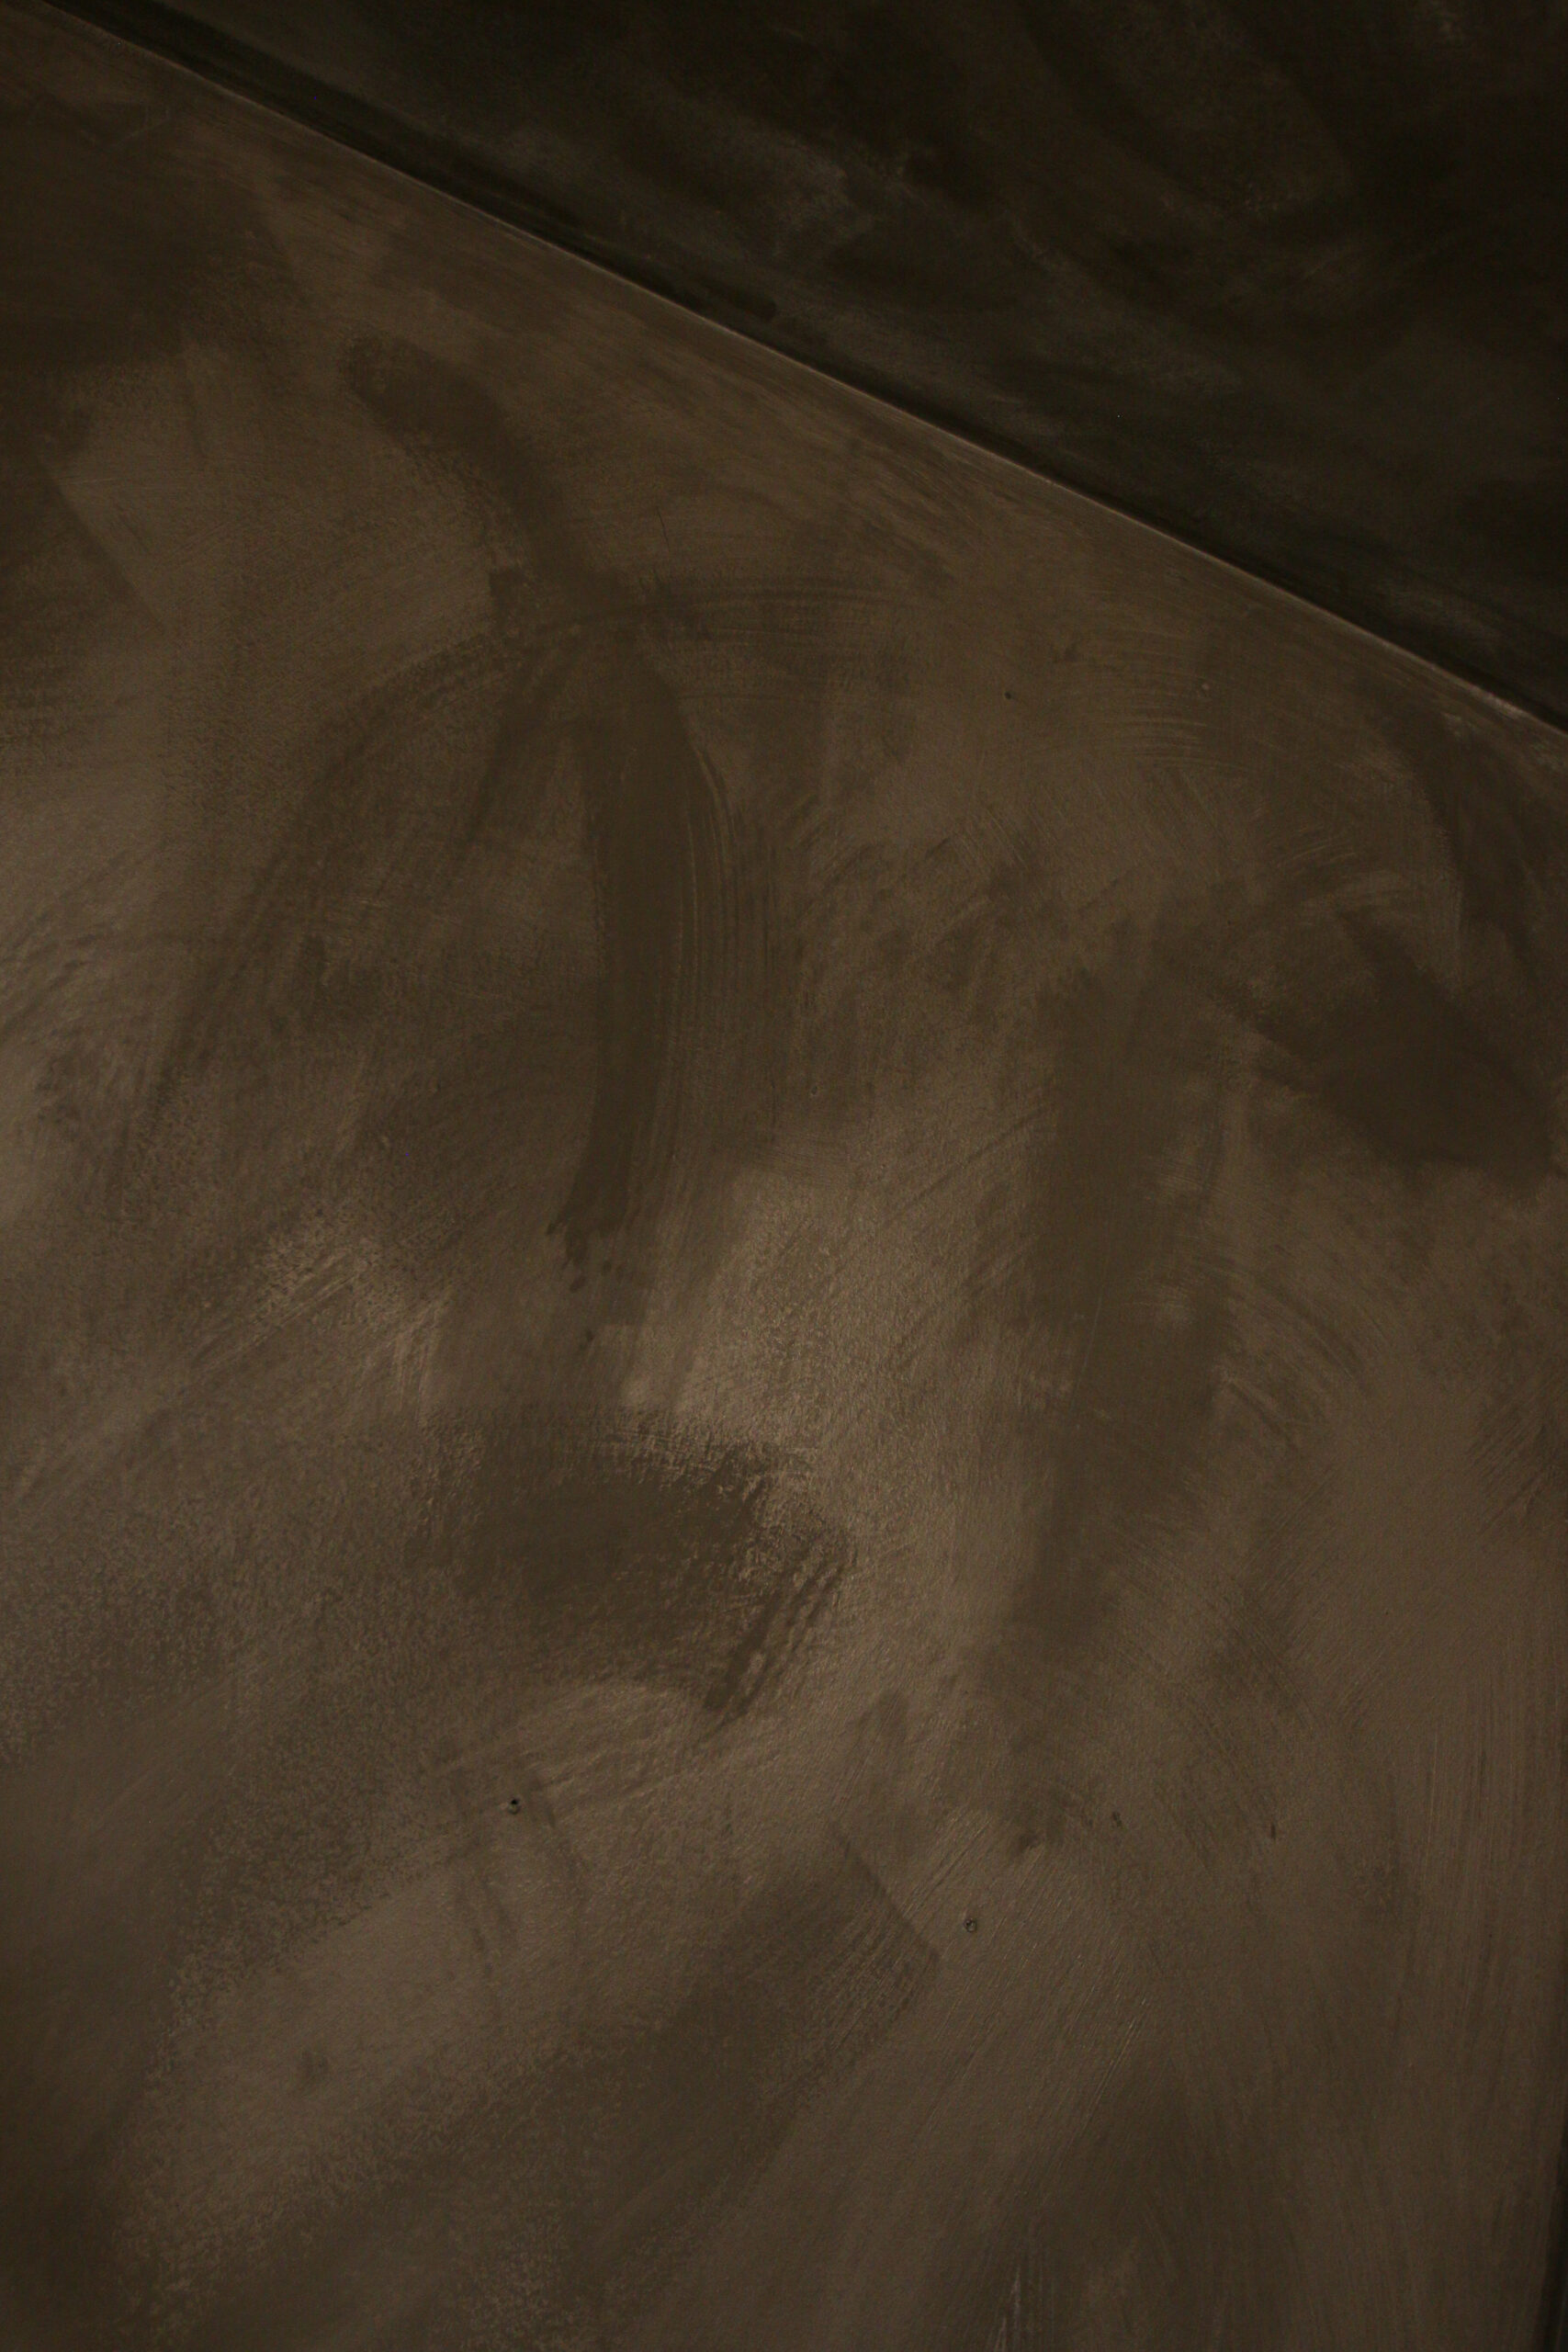
Lime wash is a lime-based paint that contains bits of limestone. When applied it’s going to create a beautiful weathered finish that has natural texturized movement with a soft shadowed effect. We were excited to learn that lime wash naturally contains a high pH, allowing it to act as a mild fungicide. It’s also eco-friendly and contains ZERO VOC’s.
HOW TO APPLY
Lime Wash can be applied directly over raw masonry surfaces like brick, cement, and stucco. However, you do need to use a primer when applying to previously painted surfaces and new drywall. This is a very important step that ensures the paint properly adheres to the wall. You can apply the primer with a roller or brush (we used a roller). Once you apply the primer, allow it to dry for two hours. Then you are ready for the main event — applying the lime wash. This is the fun part! You can’t apply the lime wash with a roller, there’s a very specific technique to follow when applying. It needs to be applied with a masonry/box brush. Here’s a link to a video that shows you the technique. You want to use a small amount at a time and apply the paint in a “flared V” motion, that continues to overlap, moving down and across the wall. It is very important you don’t allow the edge of the paint to dry. You need to make sure you are working from the point of application outwards, ensuring you are dragging that paint. The first coat is mainly for coverage and the second coat is where you can really add in texture and movement. Allow the first coat to dry for 2 hours. Once you finish the second coat, allow to dry overnight. Then you will come back in with a matte sealer. This was a learning lesson for us since we slightly messed up this part. Do not use a brush for this step! We did and it left some white streaks on the wall. We had to go back in with more lime wash and touch up those spots. We suggest using a roller to make sure the coverage is even. Also, you don’t need as much as you think. This is another mistake we made. Less is more with this sealer. Luckily, that is the one great thing about this lime wash. You can always go back in and add some paint to certain areas if you are looking for extra movement or texture. Just be careful to not add too much paint to the wall to ensure it all looks even. Overall, we had a great experience using this lime wash product. We couldn’t be happier with how the guest bathroom walls turned out. Now we are going to tackle the main bathroom with the color ‘feather’ this week. Stay tuned for that! xo


Looks so good, guys! Can’t wait for the full reveal! Xx
Thank you! We are so happy with how it turned out. The lime wash is incredible! Sharing more soon! xo