
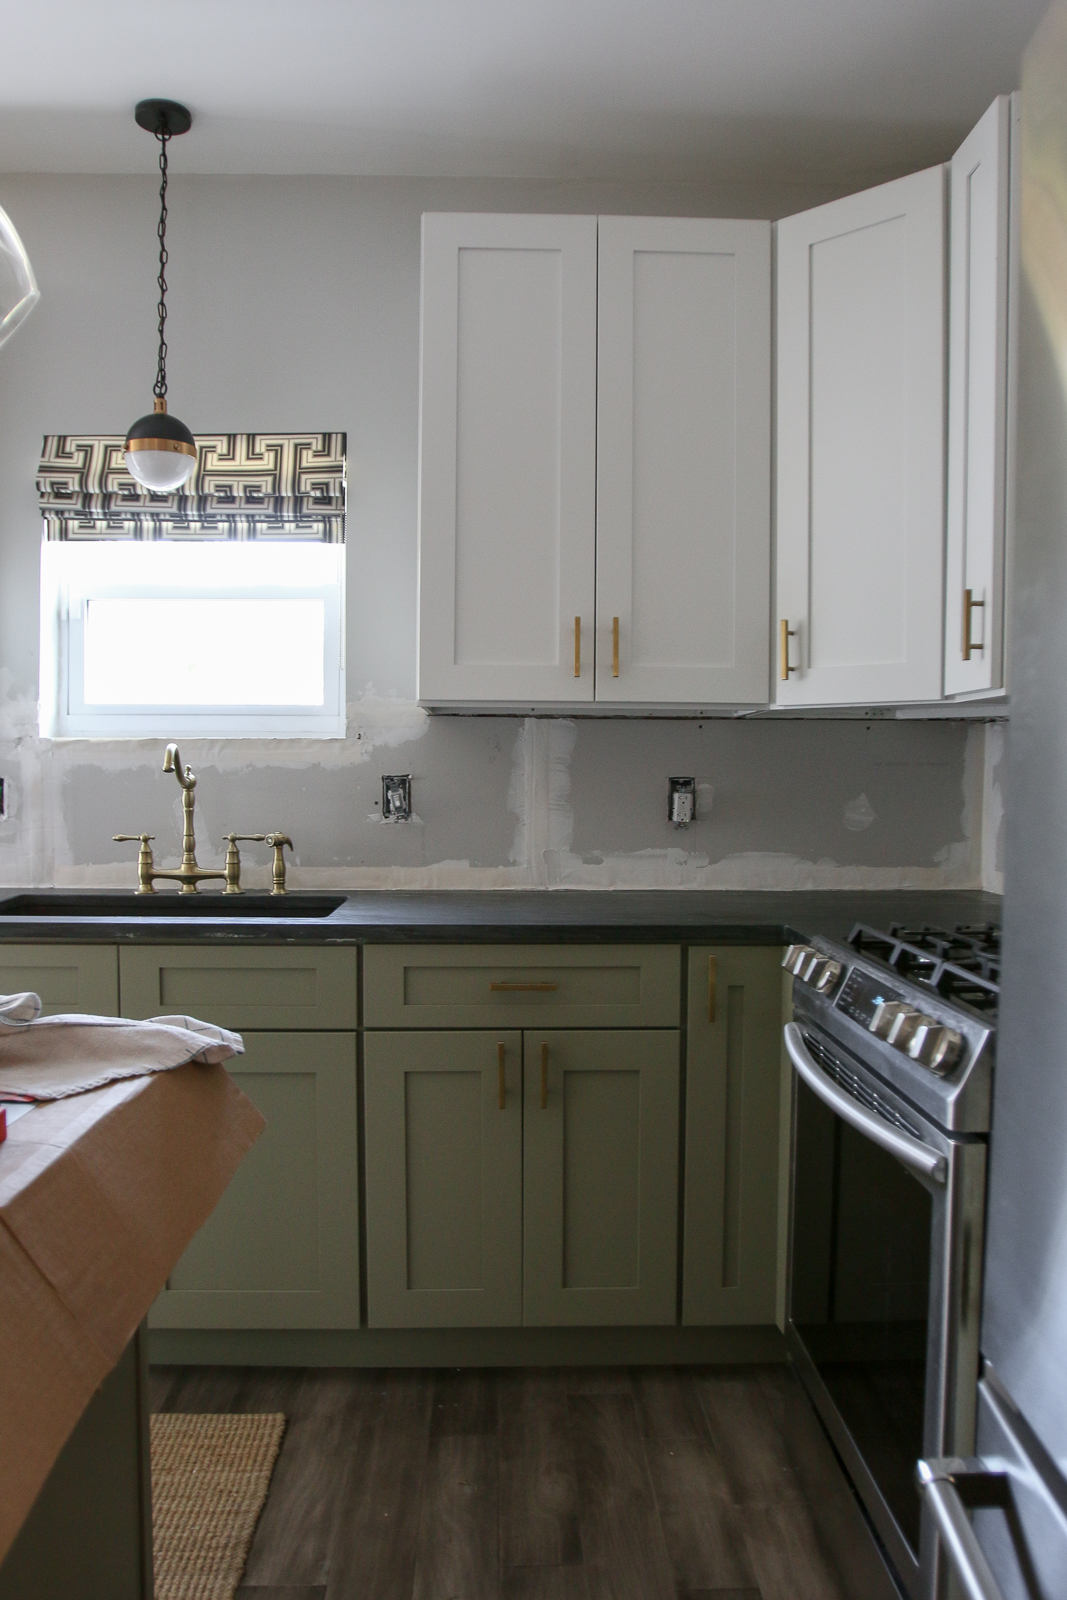
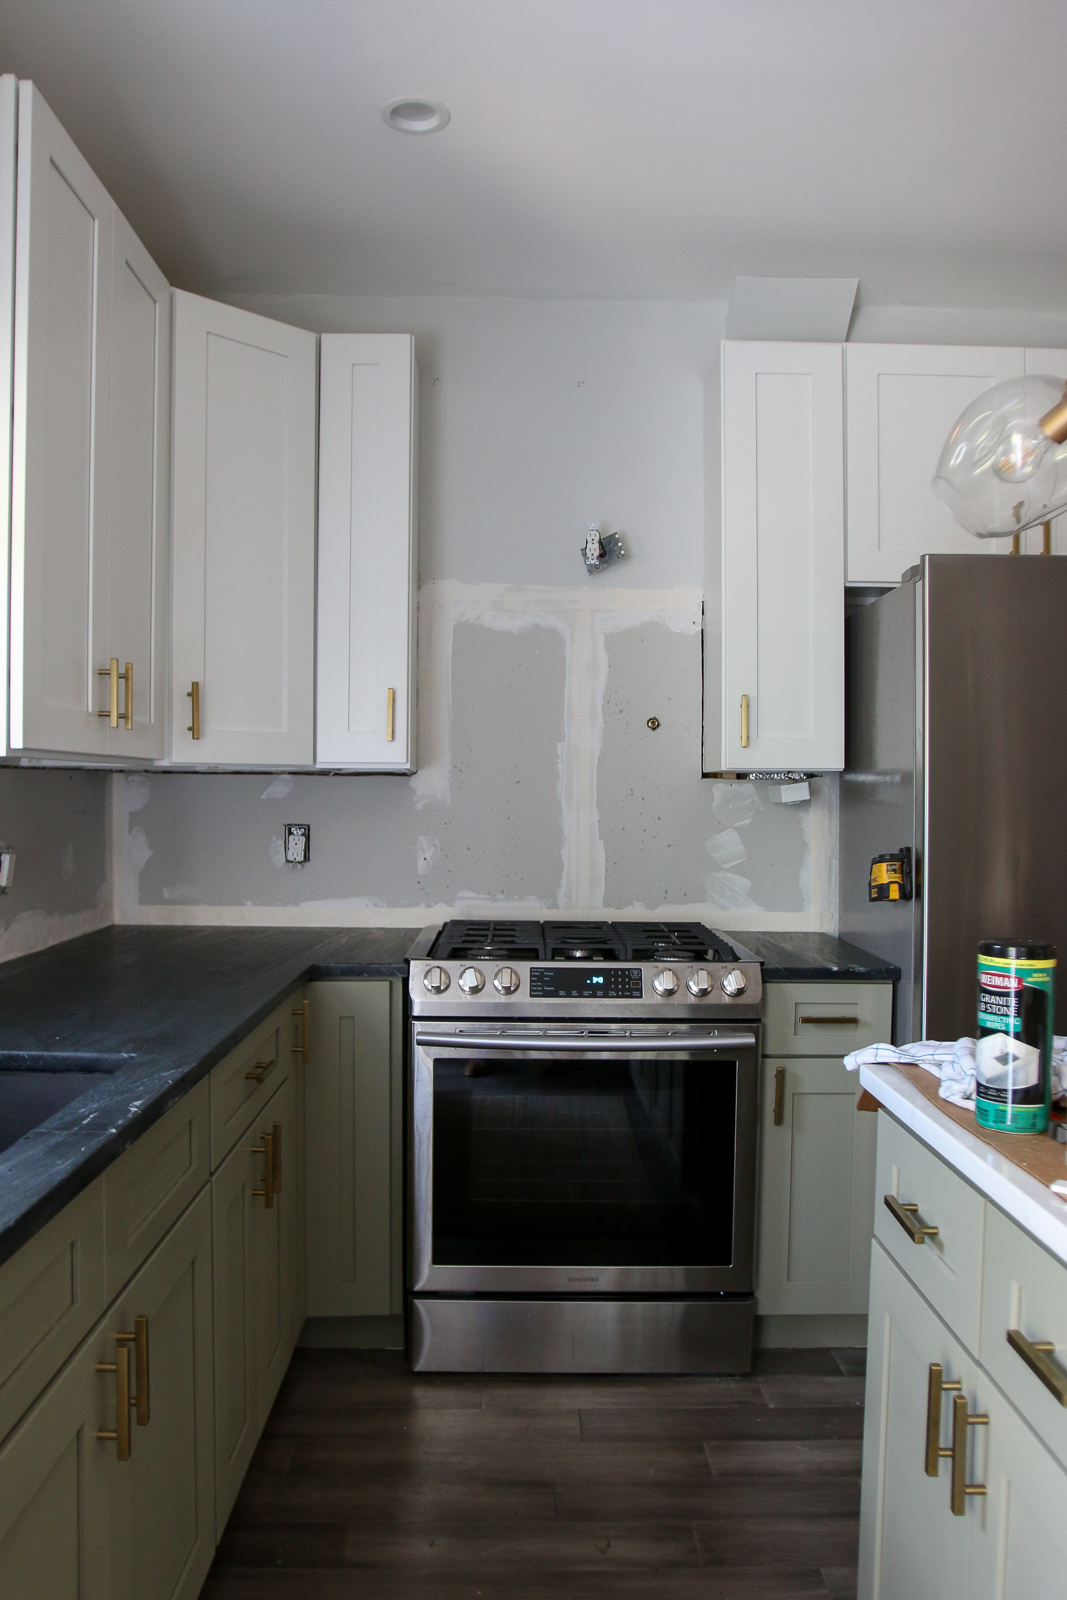
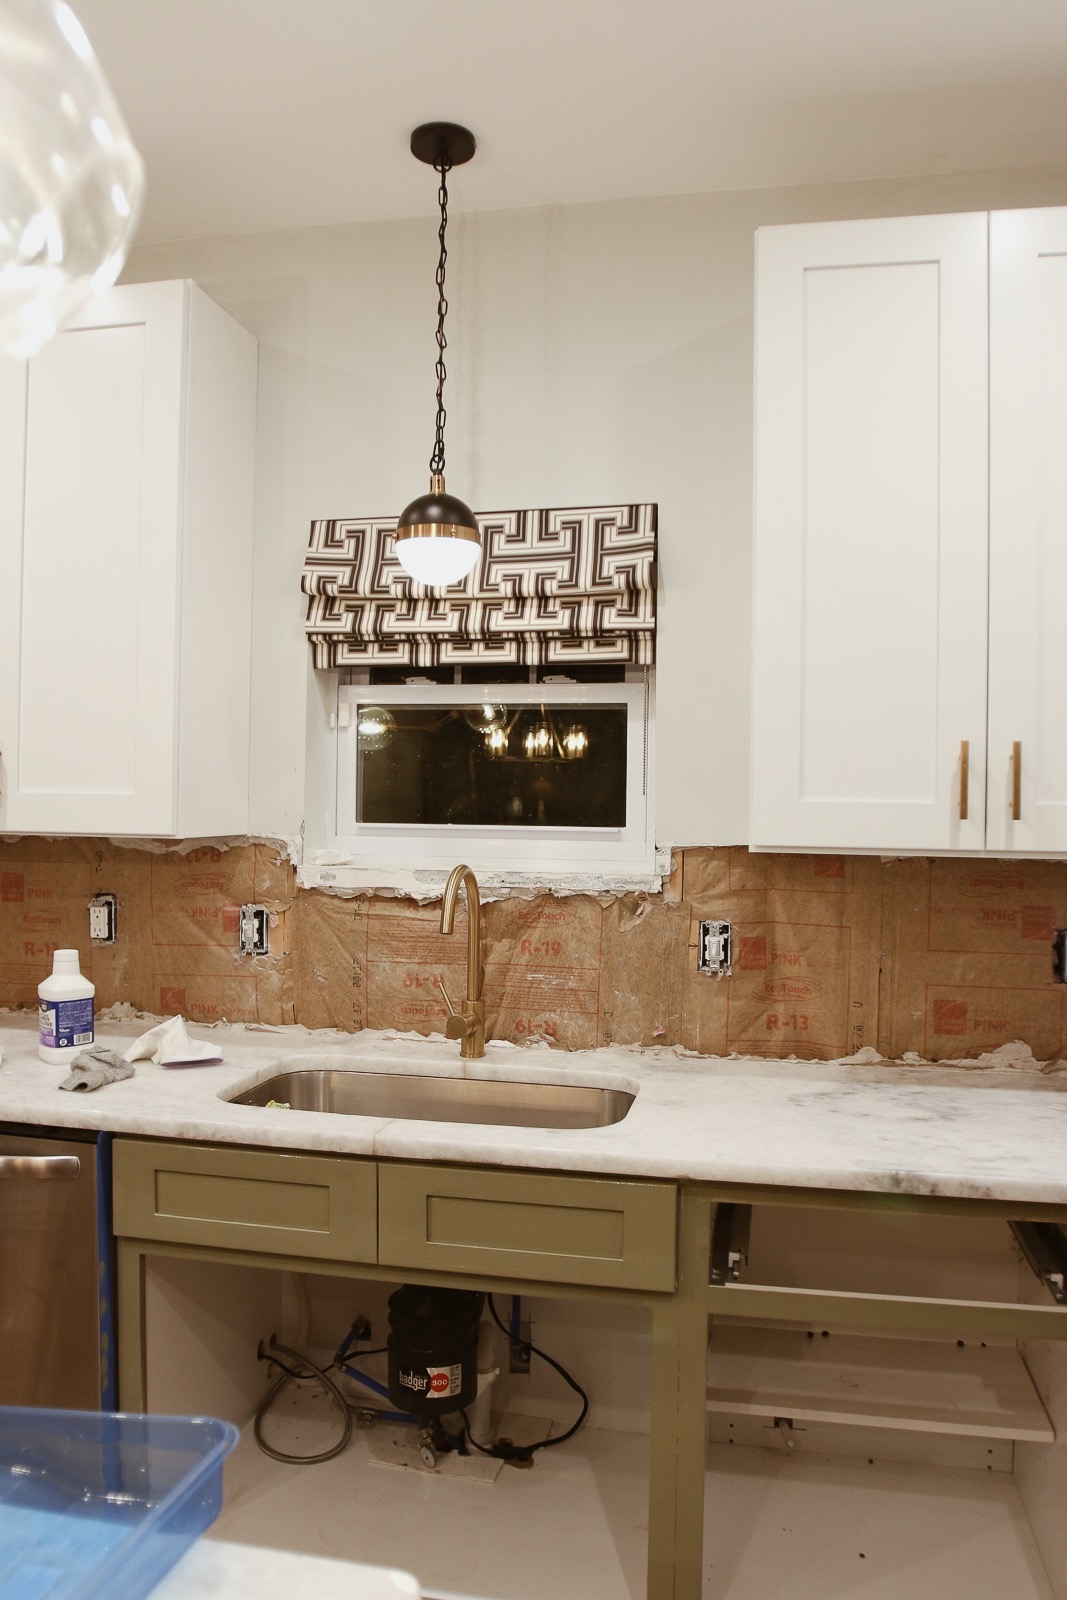
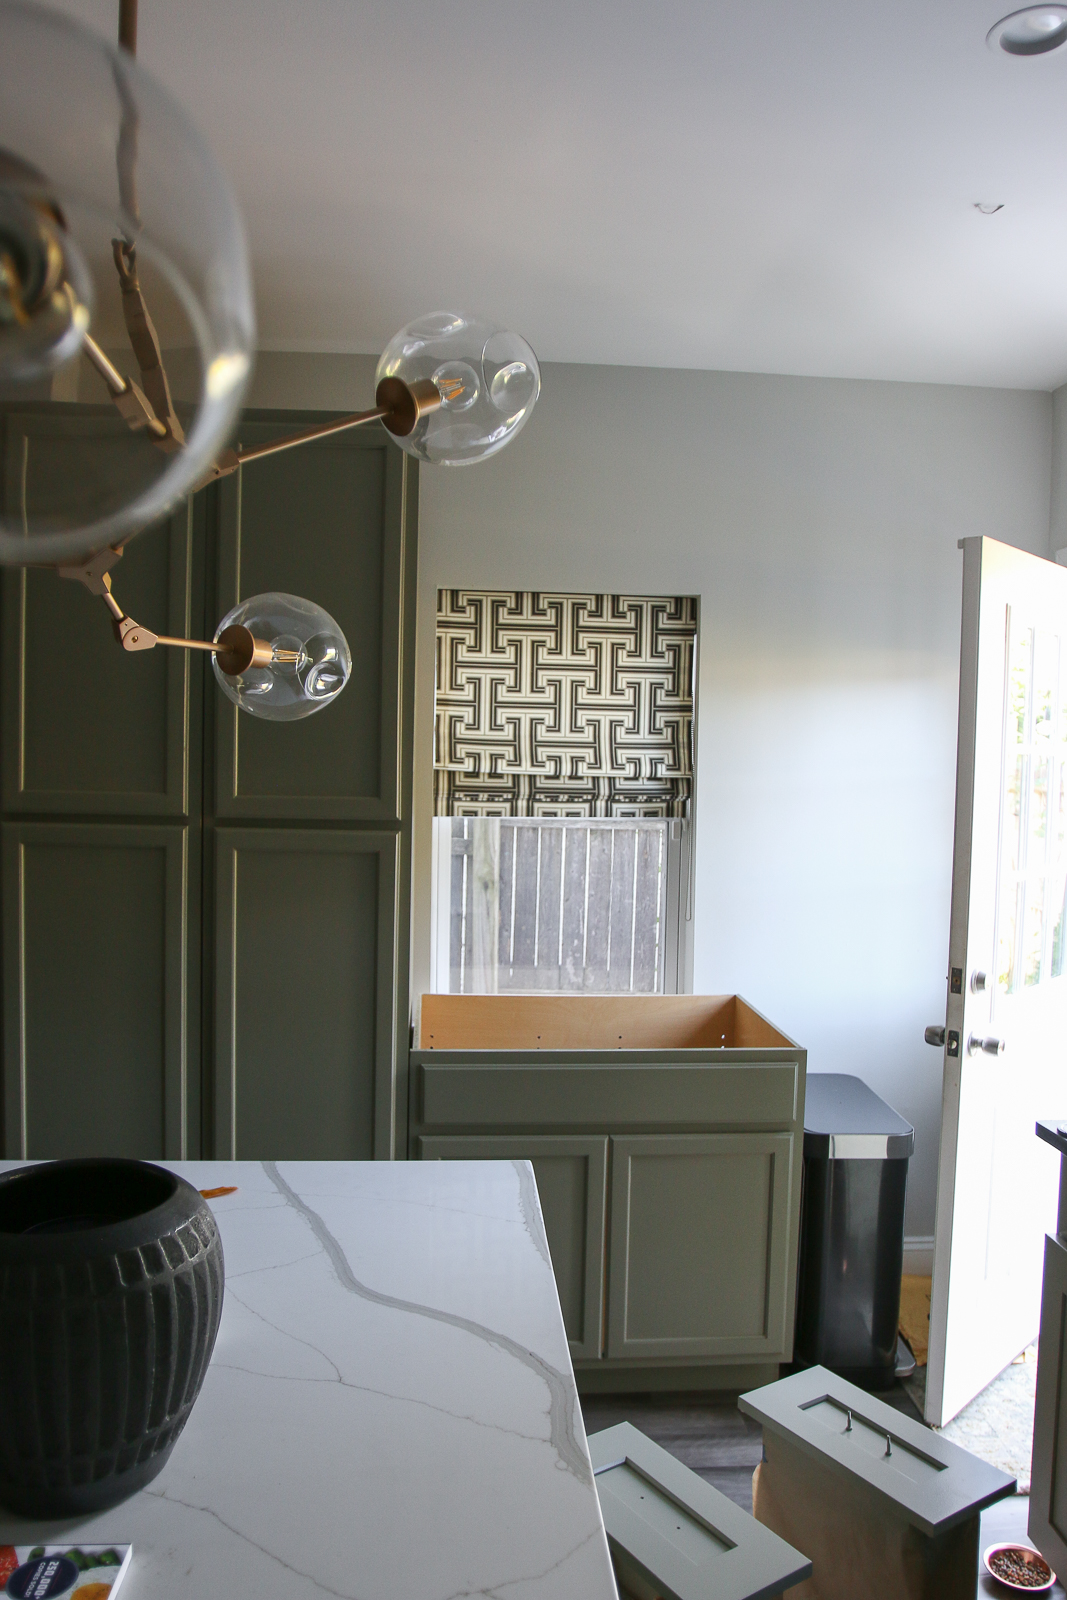
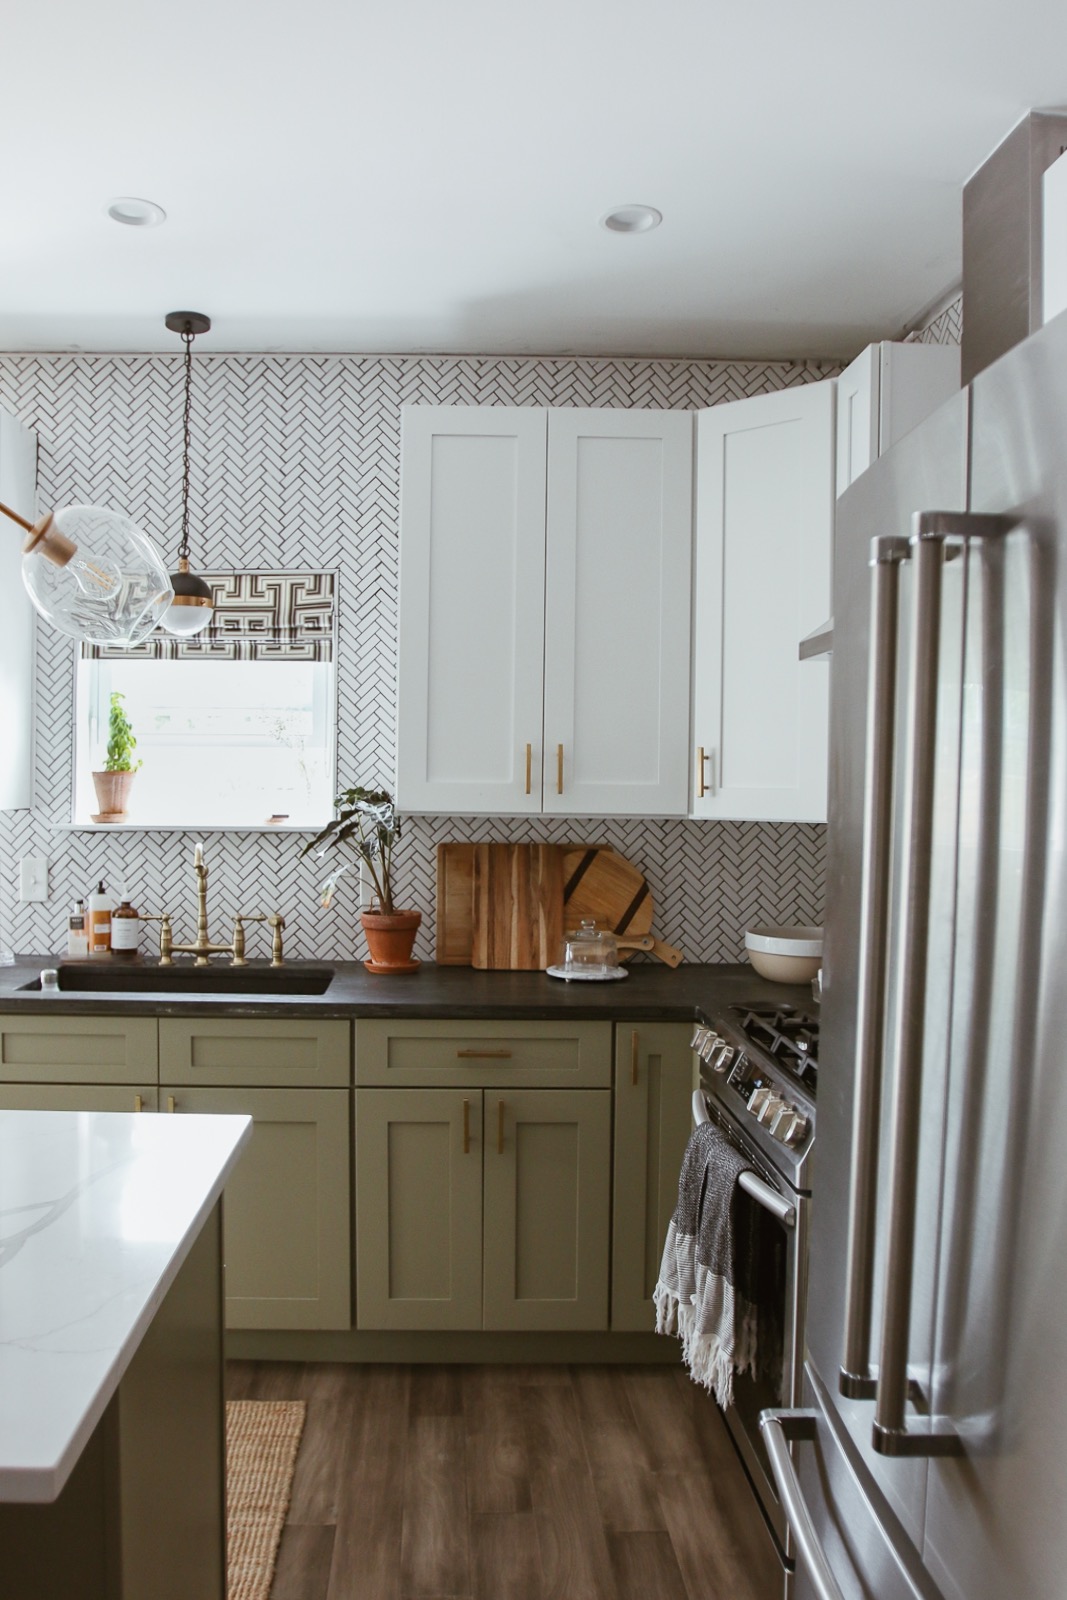
This post has been requested so many times. As you probably already know, we’ve been renovating our kitchen over the past few weeks. Painting the cabinets was something we’ve wanted to do since moving in. We left the upper cabinets white but decided to paint the lowers and pantry/coffee bar muted sage by Behr. We did a TON of research before taking on this project. We wanted to work smart. Sanding is such a pain but luckily, we painted the cabinets WITHOUT sanding one bit. The step by step process is below.
WHAT YOU NEED
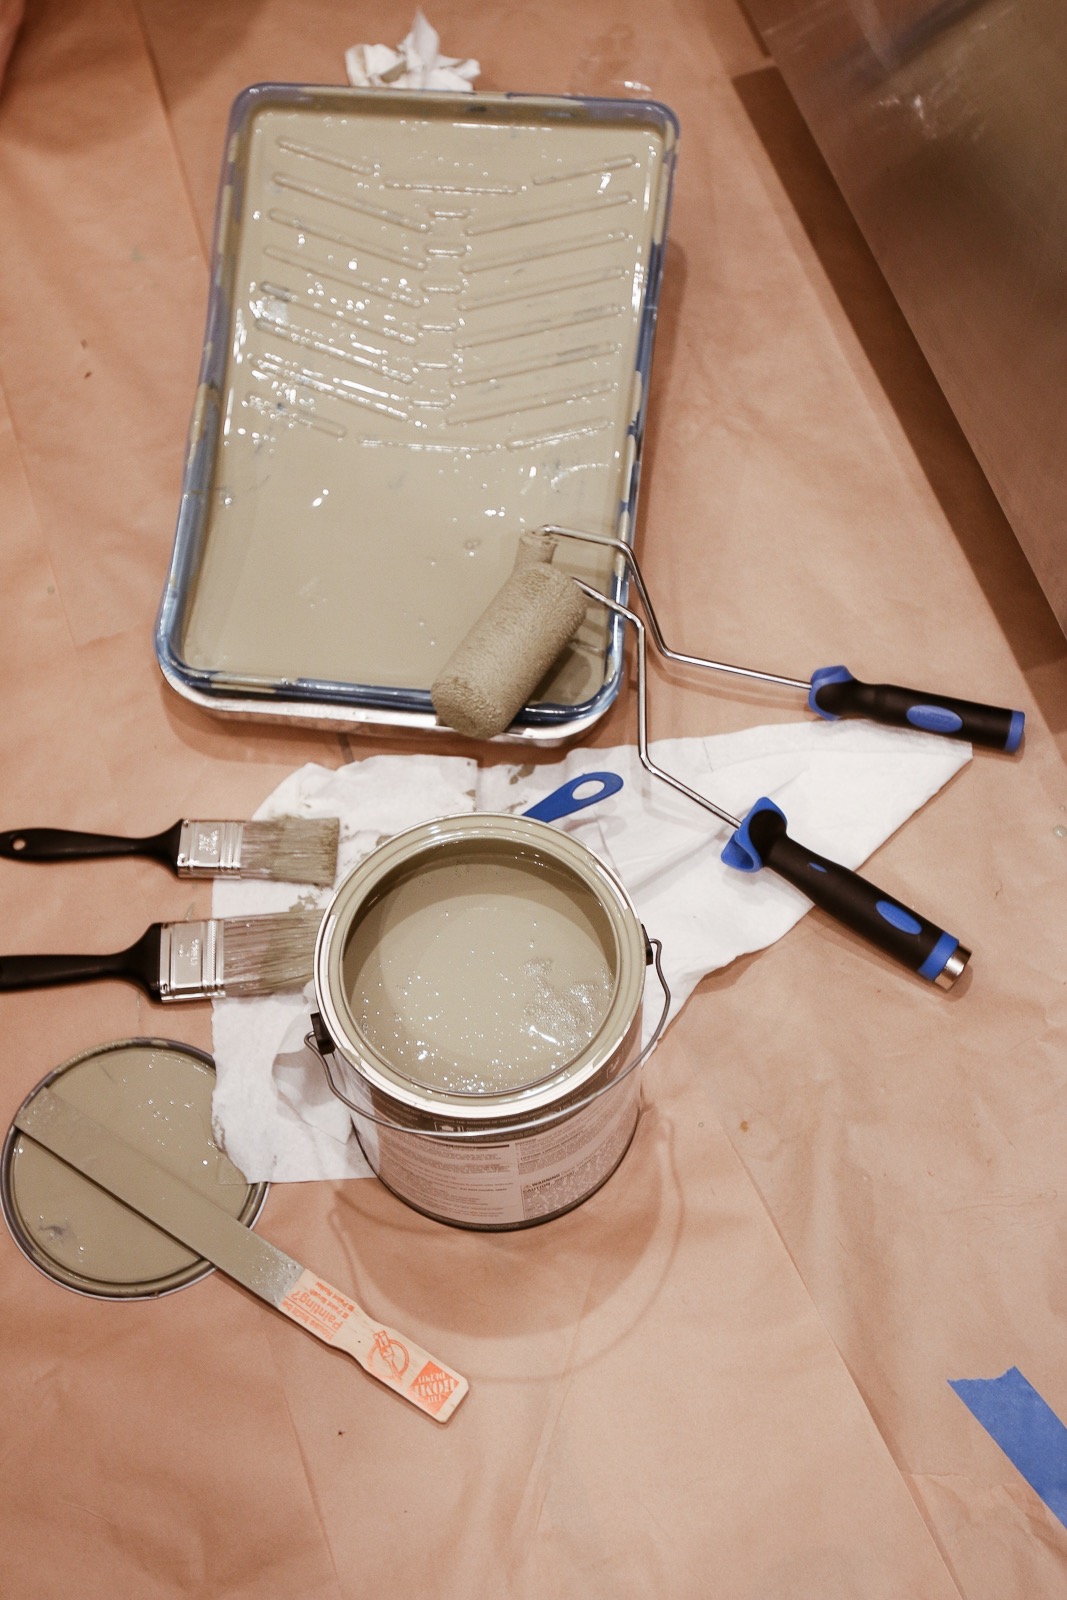
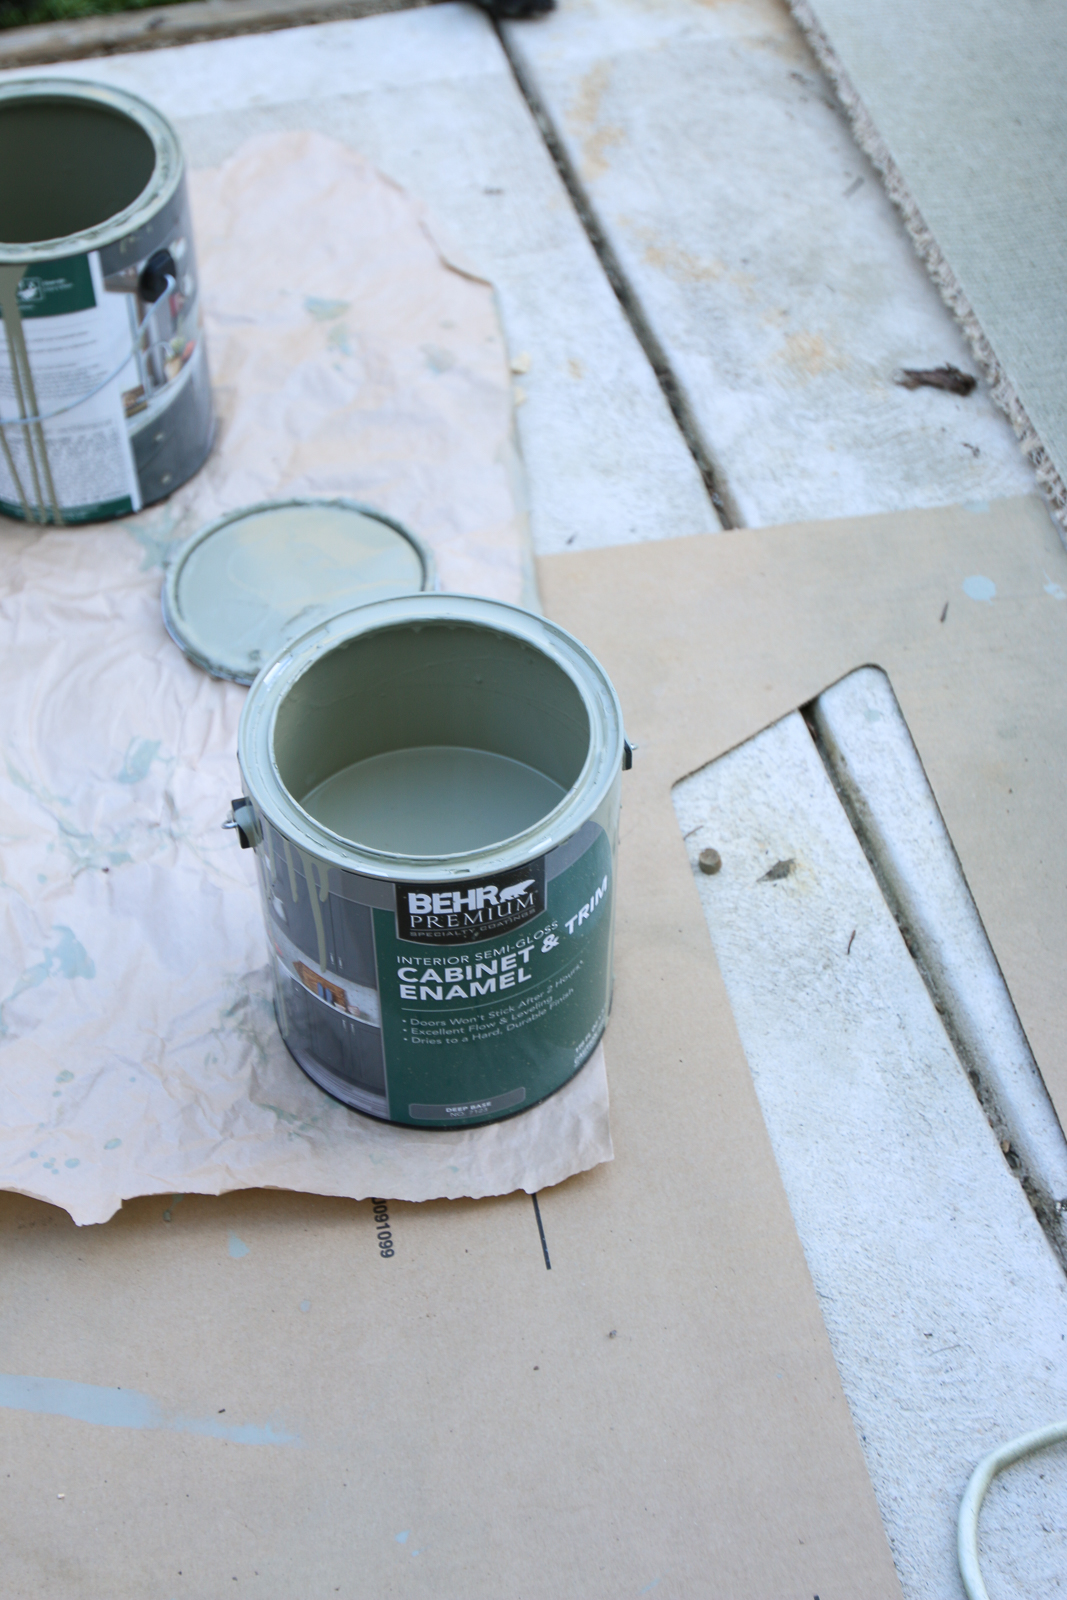
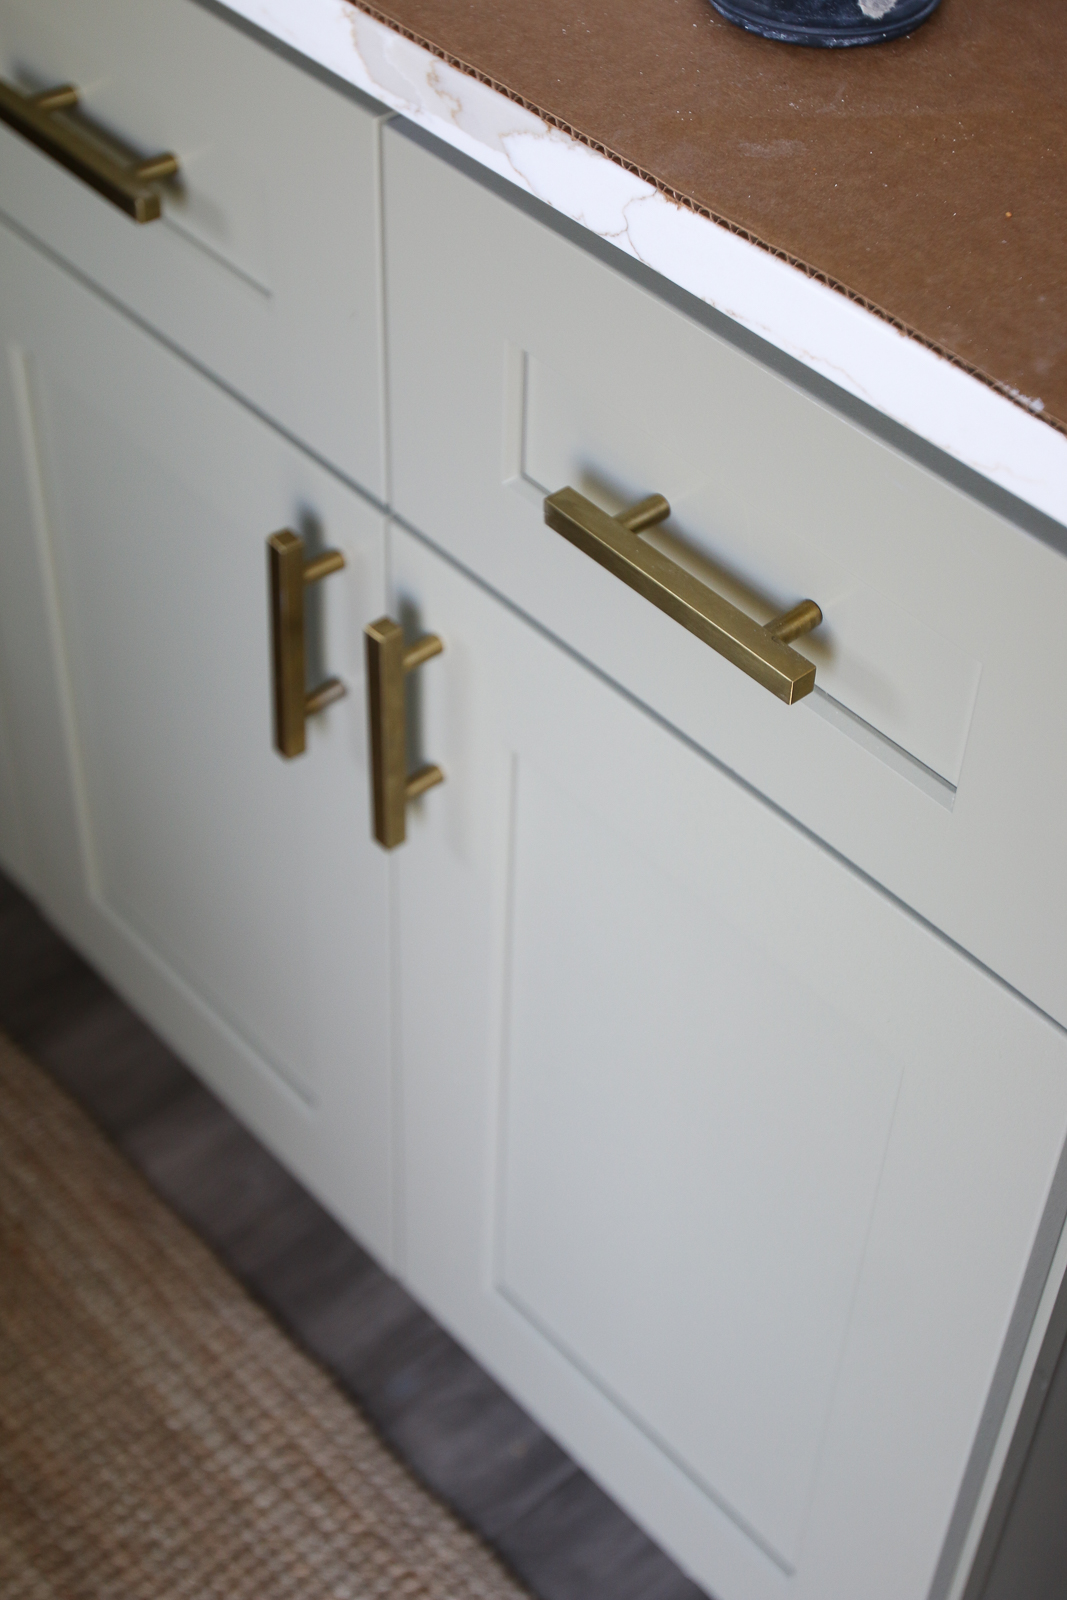
Paint. As we said, we chose the color Muted Sage by Behr. More specifically, we went with an interior semi-gloss cabinet and trim enamel. It’s a stunning color that totally transformed the space.
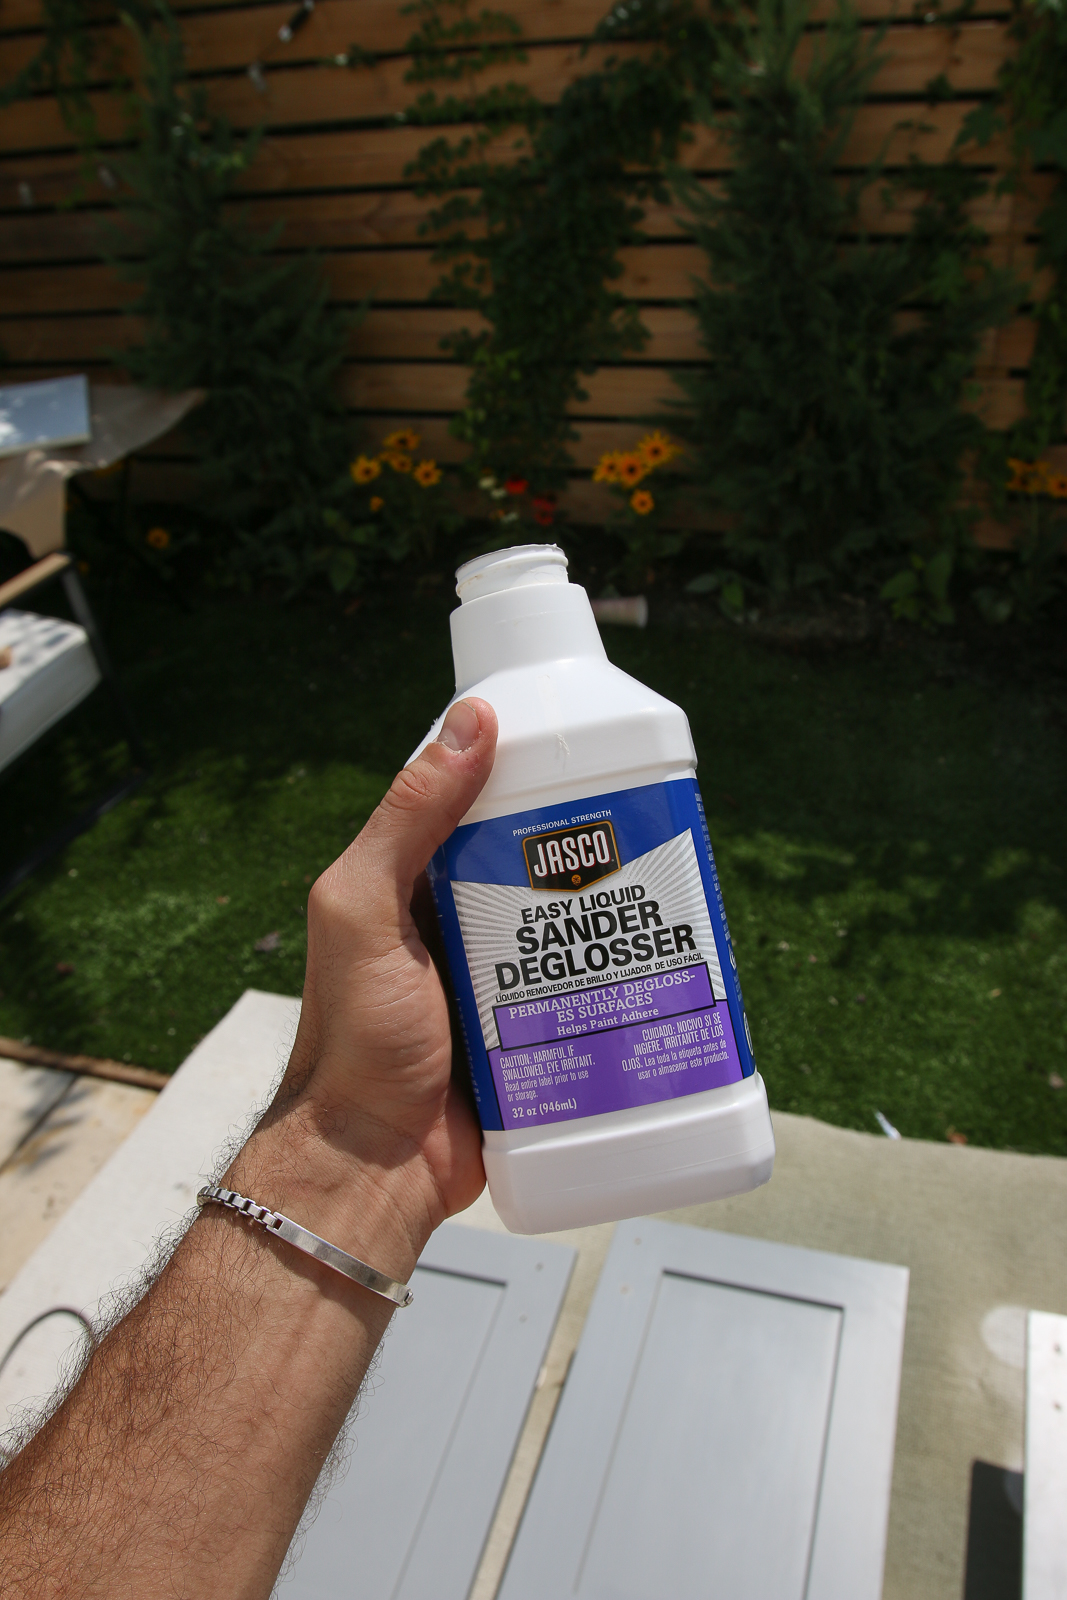
Liquid Deglosser. This is the game-changer. No need to sand when you have this product. We did a ton of research and found this one had the best reviews — Jasco Easy Liquid Sander Deglosser. Truly, this stuff is magic. It works on just about everything.
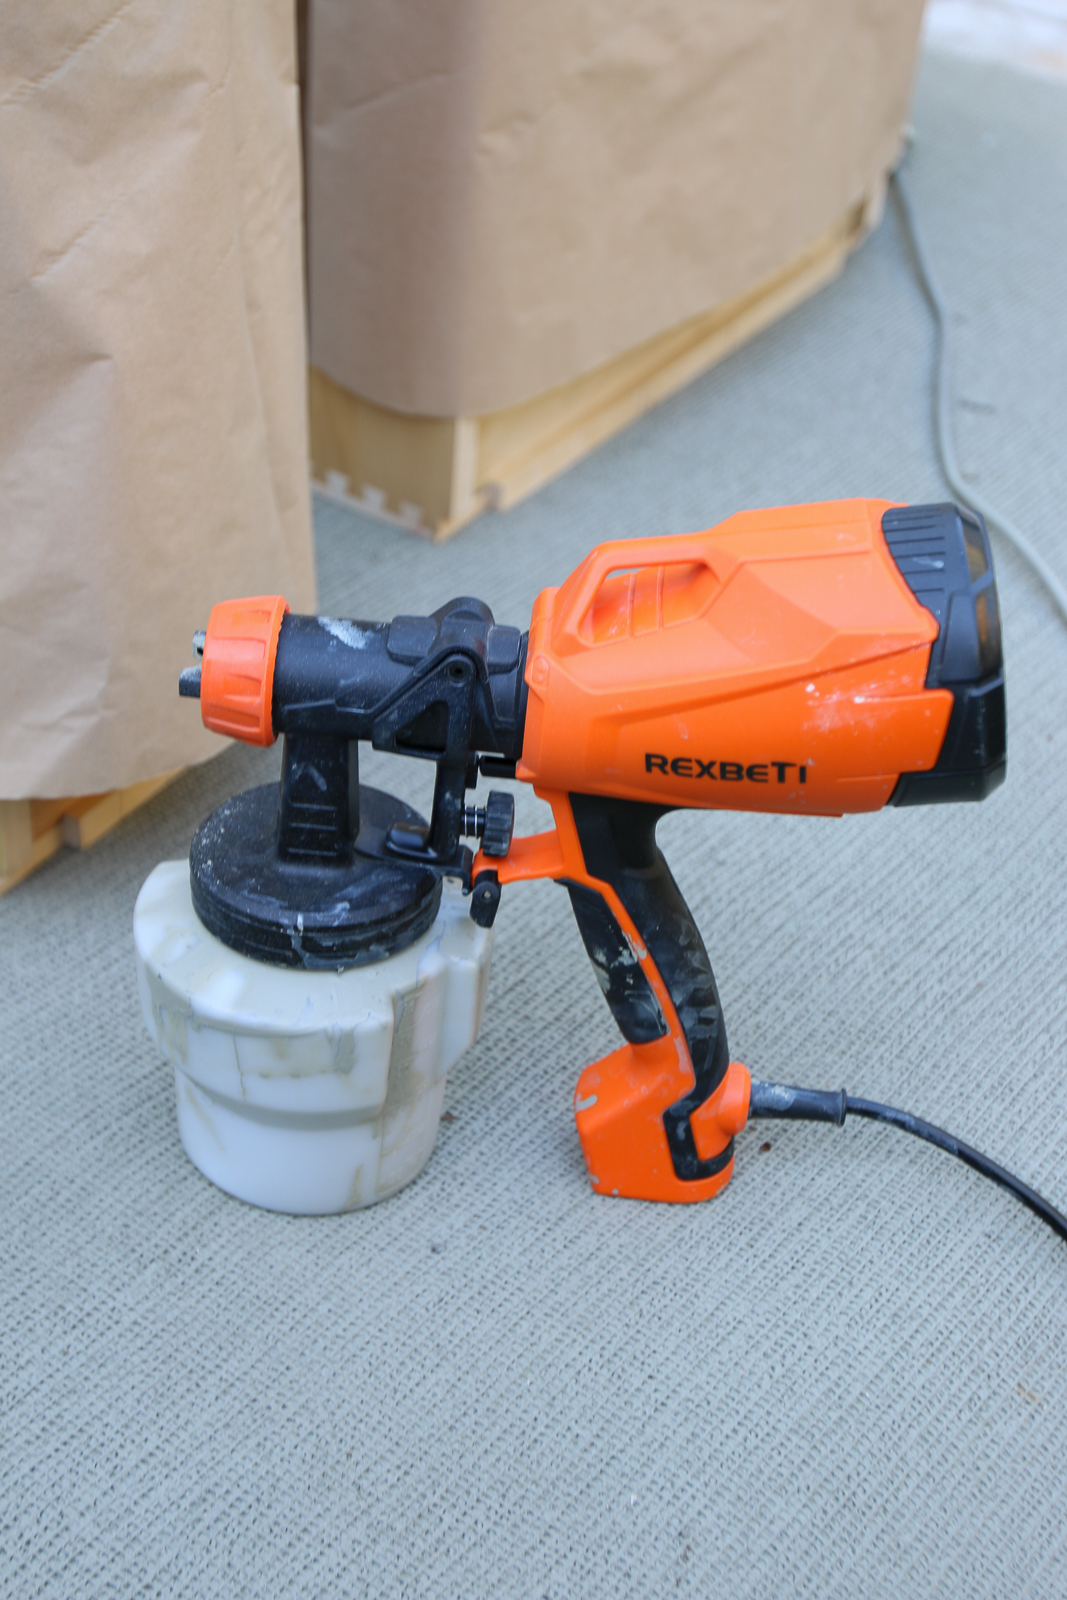
Paint Sprayer. We used a paint sprayer for the doors and drawers. This really made everything so easy. It also ensured an even application of the paint. Here’s the one we used — REXBETI Paint Sprayer.
Brushes & Rollers. We didn’t use the paint sprayer on the base of the cabinets because we weren’t sure we would be able to tape everything off inside the house. We tested out a bunch of different rollers and brushes to see what would work best. We found that a velour roller left the best finish. Also, angled brushes help get into the cracks and make life so much easier.
Link for cabinet hardware here.
WHAT YOU DO
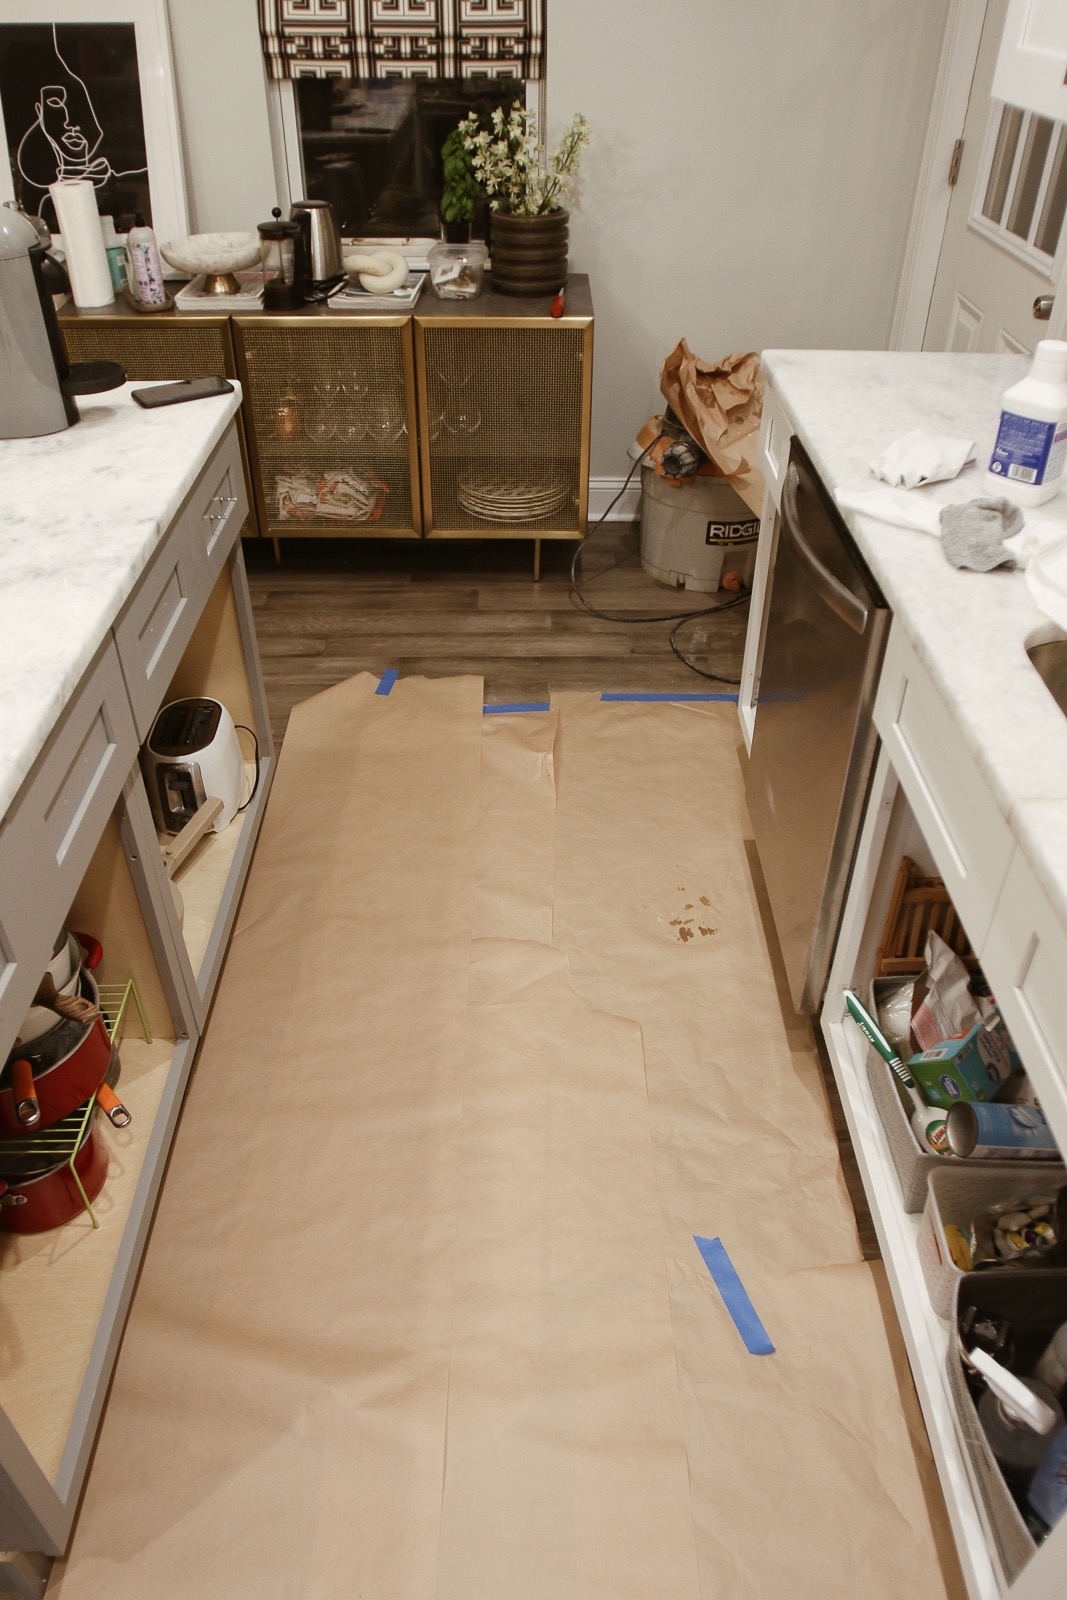
Step One. First up is prepping the cabinets. Remove all of the doors and drawers. Use sandwich bags to keep each set of screws/hinges together. This will make your life so much easier. Once you have everything removed, we suggest giving the cabinets a quick wipe just to ensure any dust is removed. Once that’s done, it’s time to degloss. This is actually super simple. We do suggest using gloves to be safe. You can just use a rag or sponge and start wiping the liquid all over the cabinets. No need to rinse. Make sure you cover any inch of the cabinet. It will only take about 10 minutes to dry and you’ll be set.
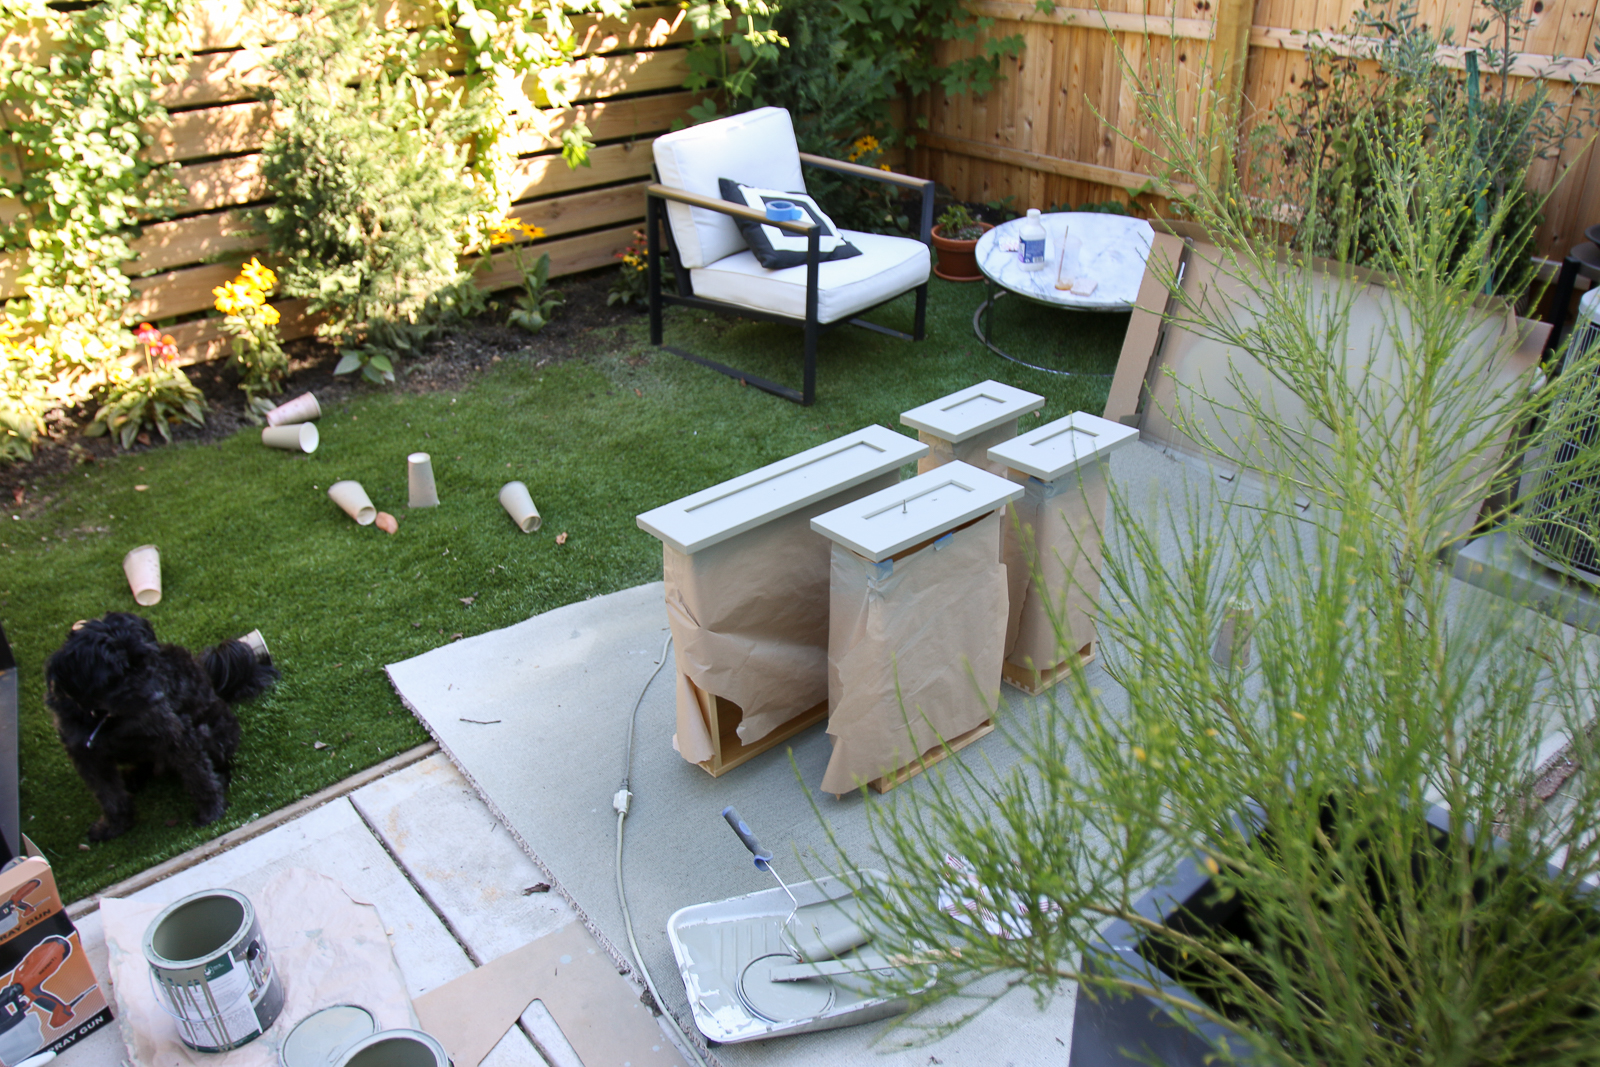
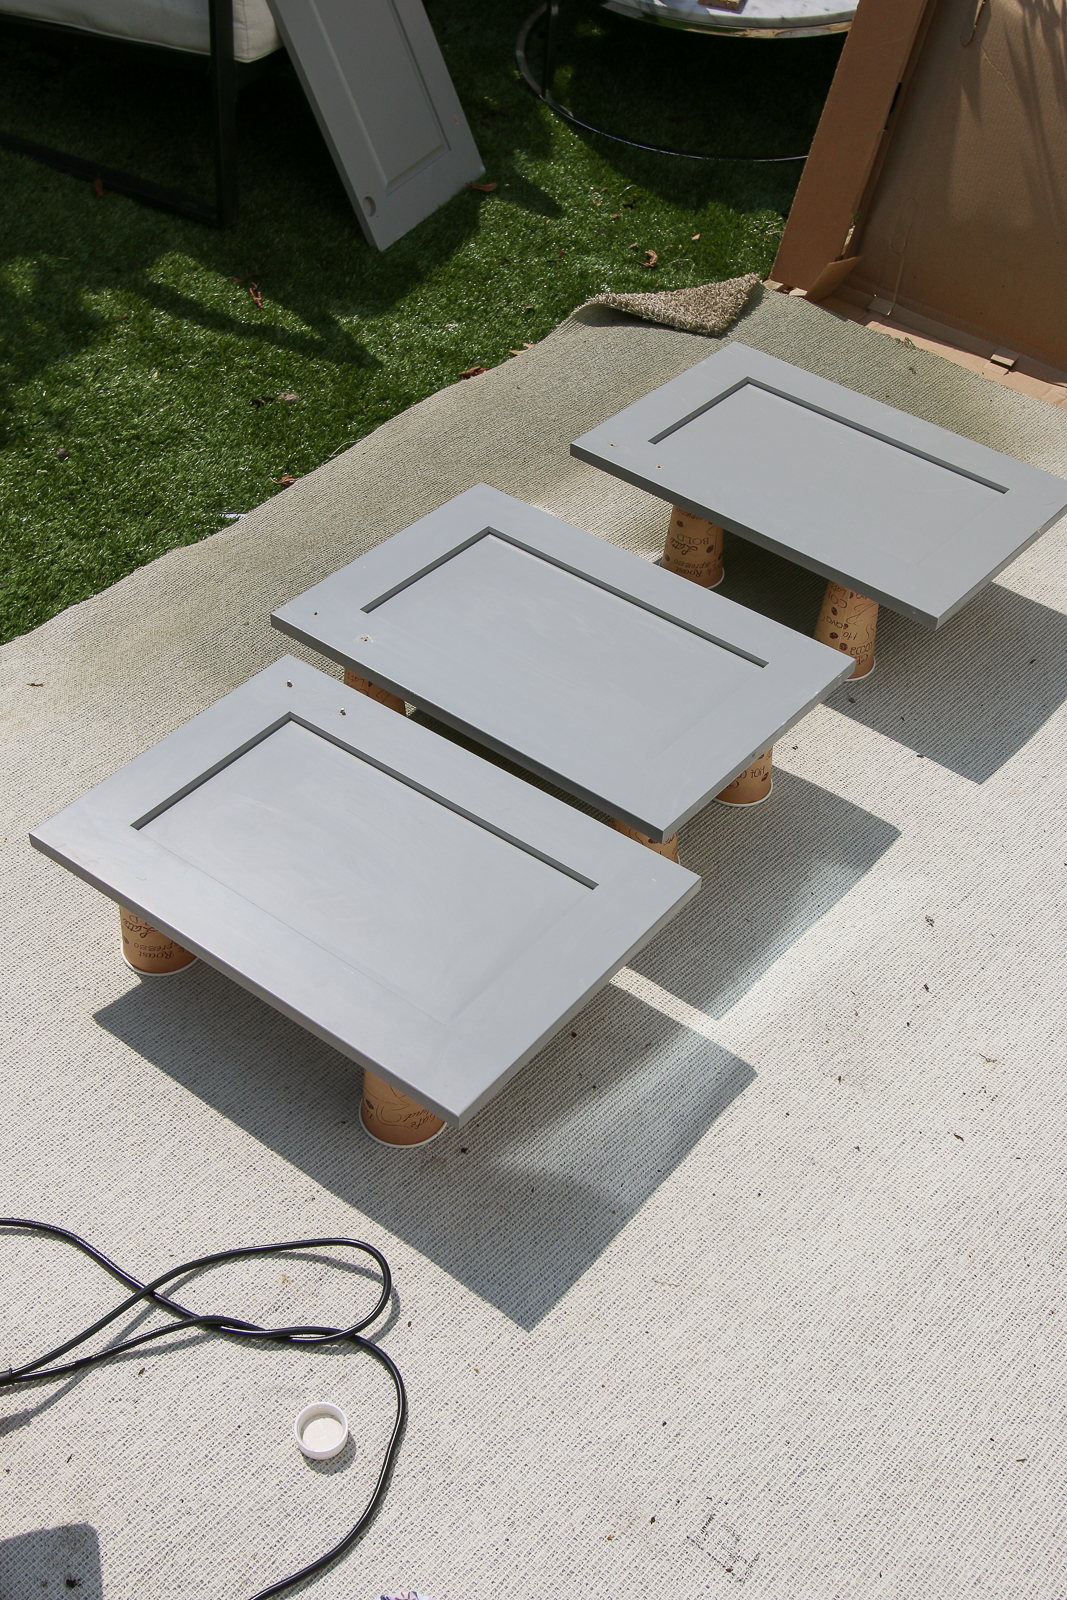
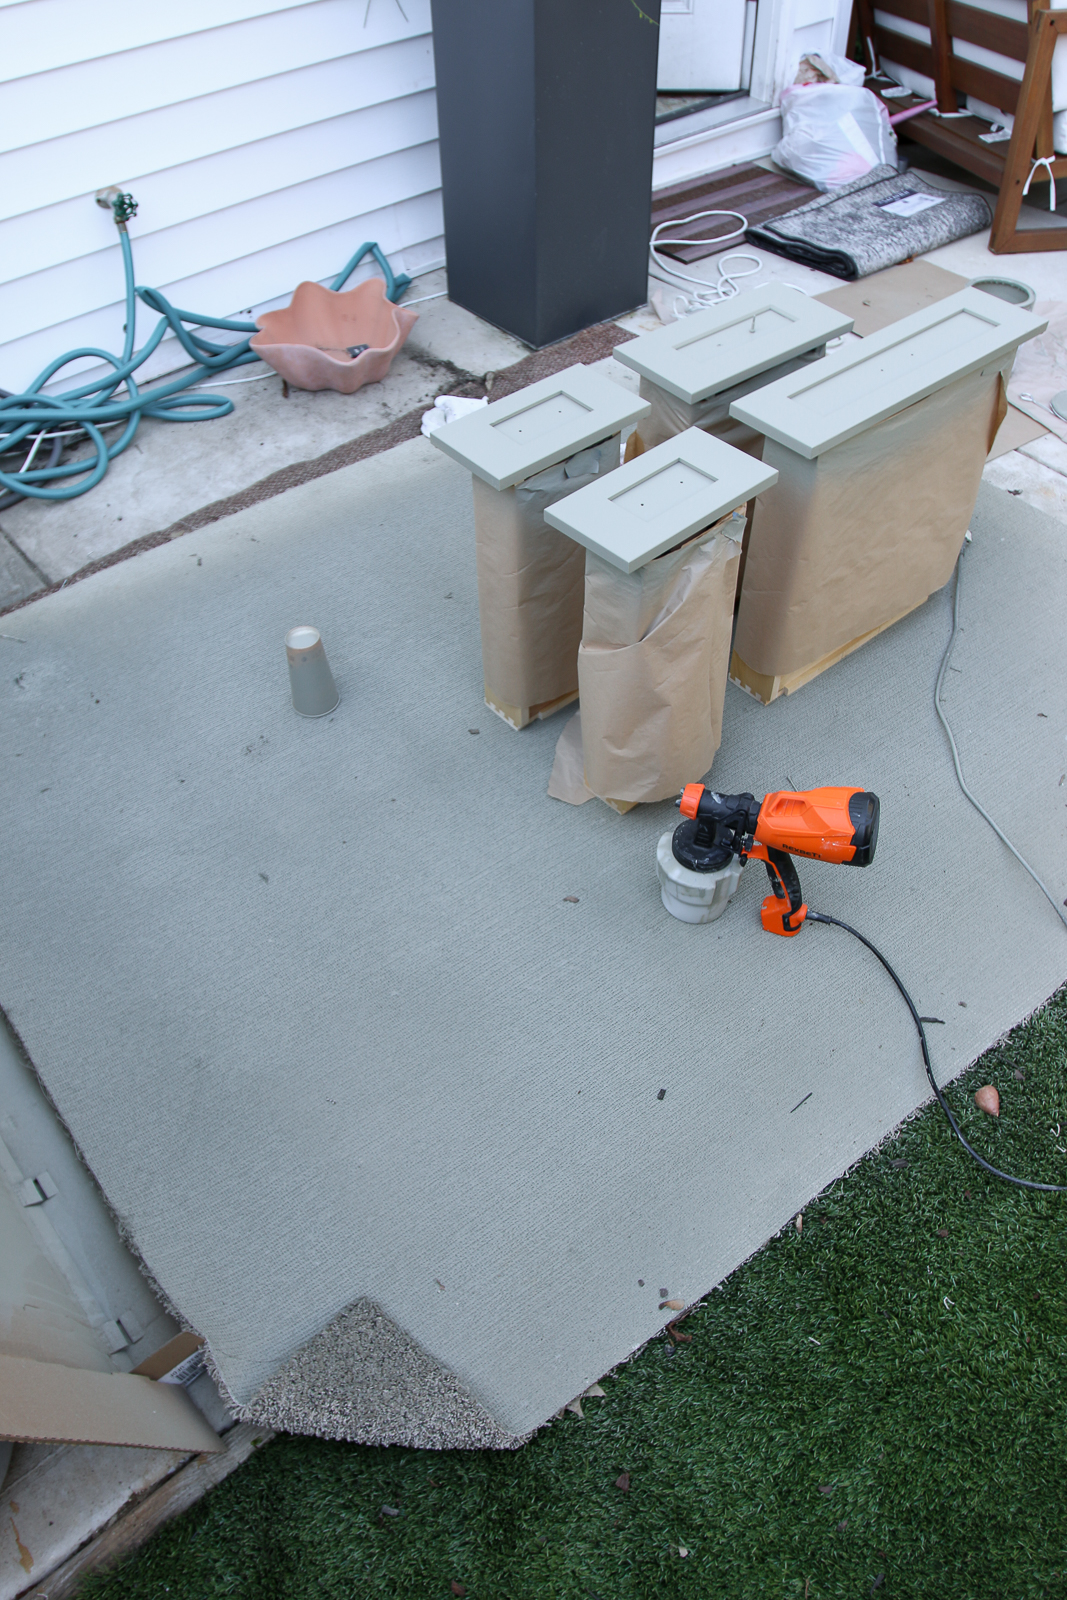
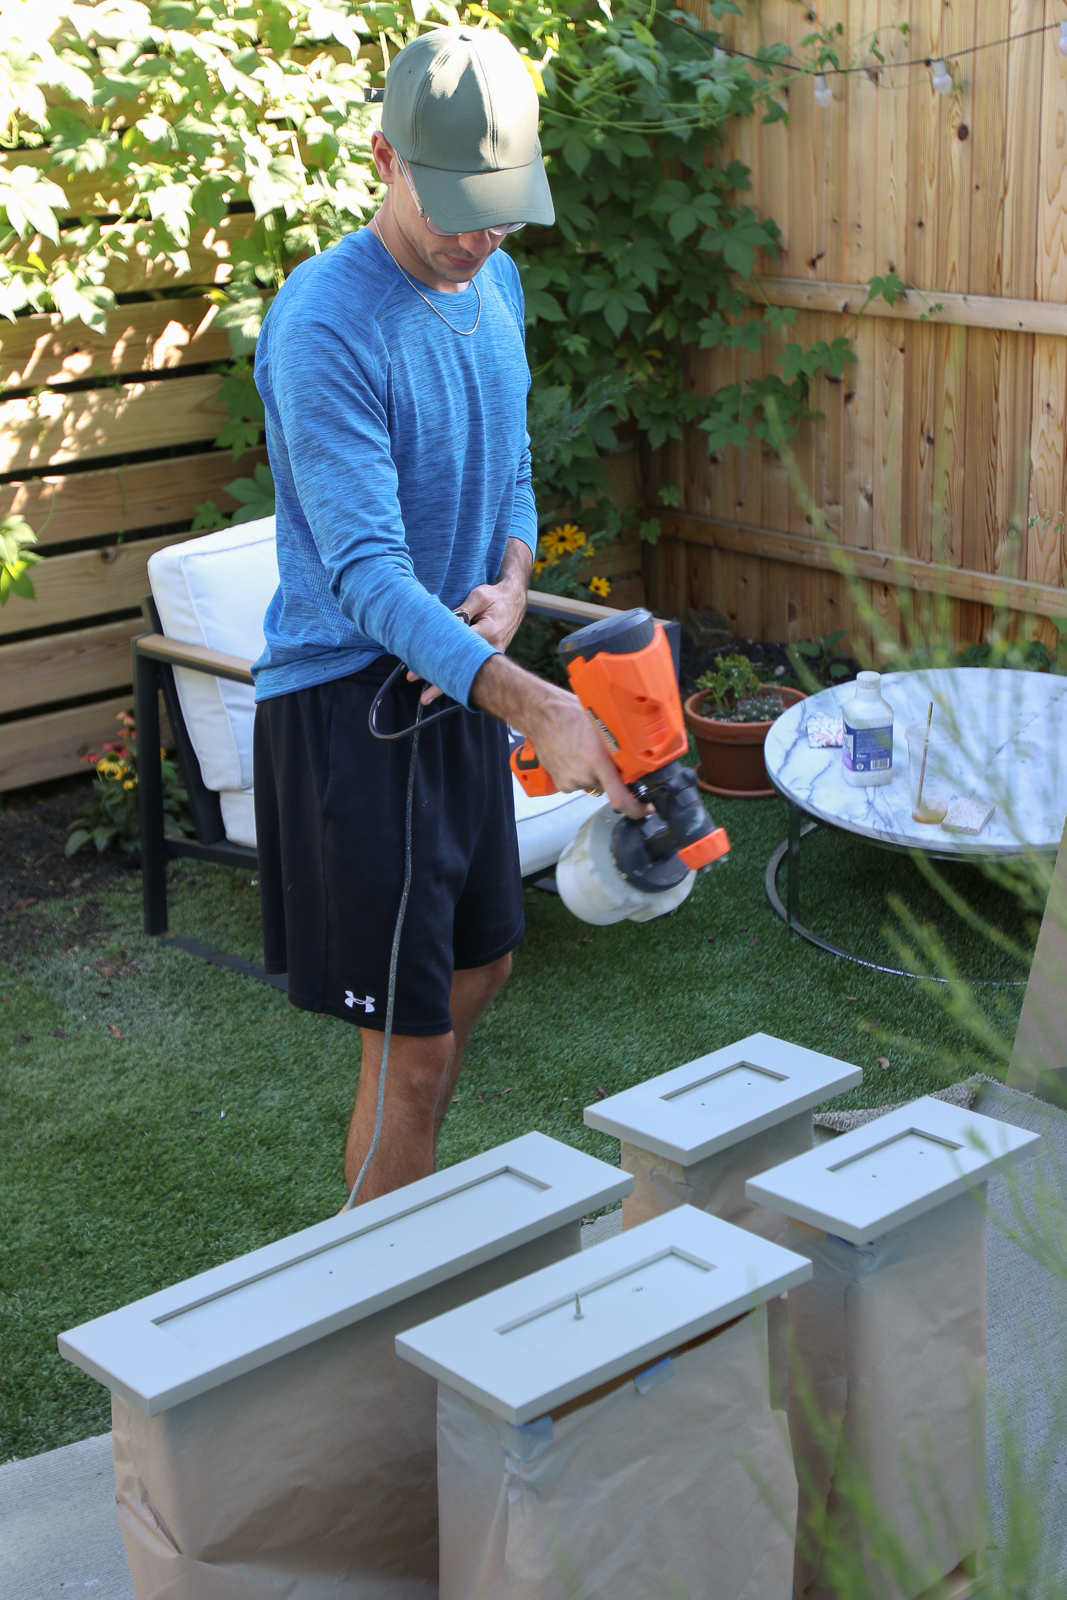
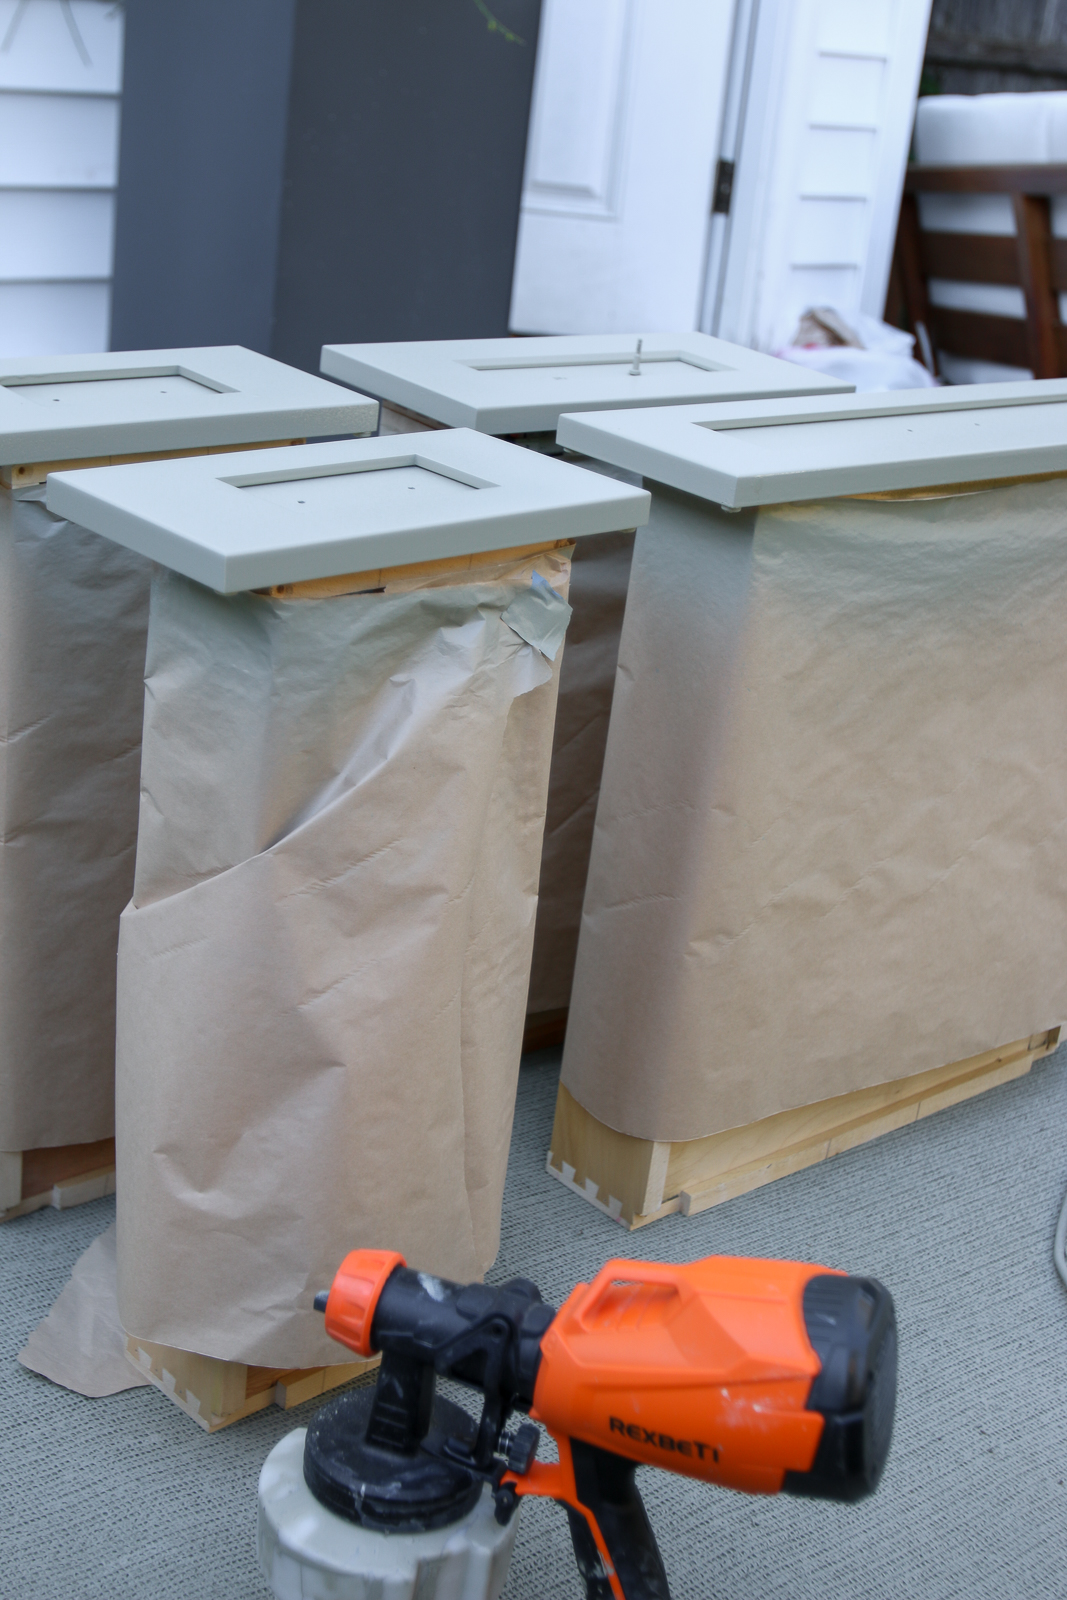
Step Two. Now that everything is deglossed and prepped, it’s time to paint. We used a paint sprayer for the doors and drawers and rollers/brushes for the cabinet base. Let’s start with the doors. We placed the doors on paper cups so the sides were exposed. This ensured that we hit the sides with every pass of the sprayer. We suggest doing two coasts on each side of the door — allowing 1-2 hours of dry time between. Once everything is painted, we suggest allowing it all to dry overnight. This will ensure everything is hardened.

That’s it! We genuinely did not think it would be this easy to paint the cabinets. Skipping the sanding part really made life so much easier. We are thrilled with how it all turned out. If you’ve been nervous to tackle your own cabinets, you really can do it. Take a weekend and get ready to amaze yourself. Let us know how it turns out for you!


I’m so thankful for your post and all the helpful tips! The Muted Sage is beautiful 😍
Yay! Happy to help. We are obsessed with how it came out. The liquid sander was a game changer!